4/14/19
Ever stop to think about how data travels on your network? – I do and it was one of my main forces behind me getting into IT all those years ago. It was a fun concept and back then there was a program called Ethereal that allow you to monitor the network traffic and do some kool things.
Fast forward to 2019 and the guy who once worked on Ethereal left the company and created Wireshark.
I’m sure you all heard of Wireshark but were unsure how to use it. Well I’ve been using it day in and day out for the best part of 10 months in my pursuit of cybersecurity dreamland.
It is assumed you have port mirroring enabled, if you don’t follow this link to another blog article:
Netgear: https://www.g15it.com/cyber-security-networking-how-to-setup-a-mirror-port-on-a-netgear-m4300-for-use-with-a-siem-device/
Cisco: https://www.g15it.com/cyber-security-networking-how-to-setup-a-mirror-port-on-a-cisco-switch-for-use-with-a-siem-device/
Below are some commands you can use to make the most of Wireshark:
Configure Capture Options:
At the top of Wireshark you’ll see: File, Edit, View, Go, and Capture. Click on ‘Capture’ and then ‘Options’
Tab: Input

- This is were you can select the interfaces you want to monitor, noticed that when you select the checkbox it assumes the interface is in promiscuous mode. This mean the port can ‘peer’ into the traffic of other ports data and/or data that comes across trunks also known as port mirroring. If you missed the article linked above on how to set this up, scroll back up. 😀
Tab: Output
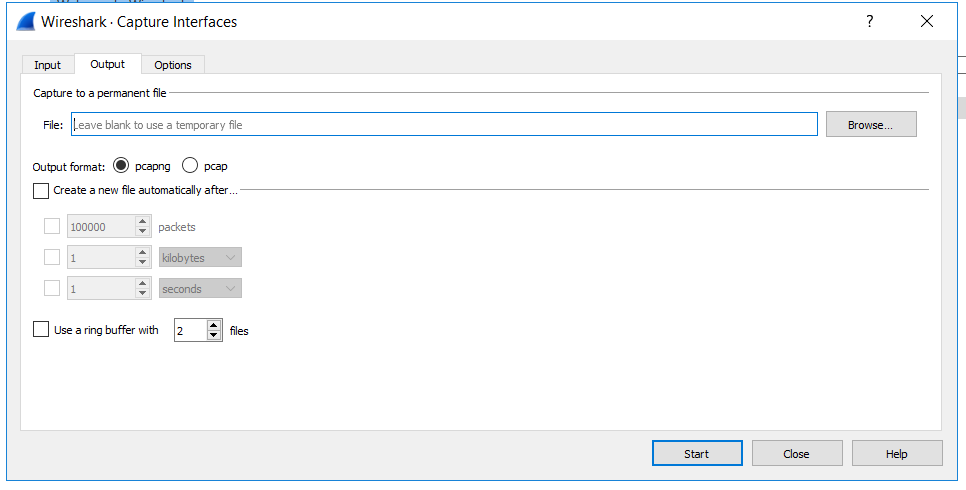
- These setting are pretty self-explanatory
Tab: Options

- These settings are a but more resource intensive. The more of them you have checked the more strain it put on a system doing the scanning. But the name resolution ones are pretty nice, but do add strain.
In this Section we go over Filters. Filter are added in this window below:

Here are some filter I’ve used. You can literally use hundreds of filters, but this will arm you with the basics. 🙂
- ip.src == [ip address] <<- shows traffic going from the address
- ip.dst == [ip address] <– shows traffic going to the address
- ip.addr == [ip address] <<– this is used to find a specific address
- ip.src == [ip address] or ip.dst == [ip address] <<– this is used to find a source and destination address
- ! (ip.src == [ip address] or ip.dst == [ip address]) <<– this is used to NOT find the source and destination address in the results, notice the ! at the beginning and the parenthesis
- ip.src == [192.168.0/24] <<– allows you to see a specific vlan or trunked traffic
- tcp.port == 80 <<- show http traffic
- tcp.port == 80 or tcp.port == 443 <<– show unencrypted and encrypted web traffic
- you can also search via protocol name like http, ftp, rdp, snmp, https, etc
This only scratches the surface of Wireshark and I’m sure I could add to this, but this is really just for me, so I can remember what I did. This blog is like my long-term storage of knowledge. 🙂