Created: 5/15/23
Updated: 10/20/23
Introduction: A home lab for VMware, where it all began
VMware solutions have for as long as I can remember required not only book smarts but also hands-on knowledge to be able to excel in this industry and while this may not be entirely true of all people, this is more or less my perspective.
One of the many things one needed to acquire was a beefy ESXi session host to match the requirements of this solution and 9 times out of 10 this meant buying a gently used enterprise server or blade that could cost between $200 to several thousands of dollars depending upon configuration. One of the many variables that we all anticipated would happen but not always want to admit was that our hobby had a hidden cost: electricity and lots of it.
You see not only did you need to buy the server, but depending on your home lab layout you also had to buy a switch or two. You might want to have a few vLANs and maybe even support Jumbo Frames for iSCSI so it would need to be an enterprise switch and then you might even acquire a storage area network (SAN) or network-attached storage (NAS) device to store your VMware Virtual machines (VM’s). All of this was perfectly fine until you started using this for labbing and learning.
I remember how I used to turn on 3 to 4 Dell R610’s in the winter and the heat produced by the servers would heat my room and it was cheaper than using an oil furnace for heat. But those days are long gone when utility costs were cheaper than dirt.
In recent years I’ve only built out tiny VMware home lab setups with the notion that an enterprise-grade server would eat a lot of electricity. I’ve scaled back from 4 to 5 network switches into a collapsed core switch with lots of features and a dedicated beefy iSCSI/vMotion switch and on the same token scaled back to a NAS from a SAN for storage. I’ve always dreamed of a low-powered solution that could allow me to learn VMware solutions without breaking the OPx costs of having a local hands-on lab.
This has now changed, for me, with Protectli.
Protectli: How this journey began with the goal of using a low-cost solution with lots of potential
About 3 years ago I was in the mists of upgrading my home lab firewall from a trusty Sonicwall and more towards a similarly branded firewall (a name I will withhold to ensure my own home labs network security footprint) and I was looking for a US-based SoC bare-metal solution and after a long and hard search, I stumbled upon Protectli on Amazon.
I ordered one of their vaults and put the firewall software on the unit and it worked like a champ; I had zero problems. Well, I let this sucker cook as a firewall for several months, and still no problems, so I was like ok, I’ll order one for my parents to upgrade their firewall. When it arrived, I was about to install the firewall software from a flash drive I used for the other firewall. But I accidentally or maybe it was fate, I selected an ESXi 7.0 installer on another flash drive. I plugged it in and booted it up and then I walked to take out the trash. When I returned I was greeted by the prompt to install ESXi.
I was like huh, well this is interesting. So I proceeded to see if I could get VMware to install and install it did, quite effortlessly too. So I got ESXi all set up and I was like wow this is pretty neat, it was snappy too, and didn’t draw very much power at all.
So I went on the Protectli website and contacted them as I was seeking a 10G solution for this unit to mate with my existing 10G networking for my VMware home lab. This started an email chain that spanned months and years until I got the email. “We are working on speeds above 1G”, I nearly fell off my chair when I got that email; I was so excited!
After a few more months went by I got another email that stated that a 2.5G solution from Protectli was going to be released. At this moment, I reached out to the VMware vExpert program manager, Corey Romano, and asked him if I could be a product solutions SME for Protectli and he said it would be a great idea. I then reached out to Protectli and asked them if I could work with them to promote their solution to the VMware Evangelist community and the CEO of the company thought it would be a great idea!
The CEO of Protectli and I then conversed for a bit about the 2.5G solution and potential faster speeds in the future and then once I heard about the solution about to be released I asked if I could acquire a unit as soon as they became available and they agreed.
This began the journey of what I’ll be covering in the next few sections of this article. I hope you’ll enjoy the ride as much as I have. ^_^
2.5G and beyond all with low OPx
So, I acquired a 2.5G Protectli and then waited for it to arrive. Since the unit was 2.5G and my network was running at 10G I had to find a middle ground. While this isn’t the topic of this discussion and it might be in another future article, I’ll simply say that I acquired a QNAP QSW-M2116P-2T2S as the 2.5G switch has (2) 10G SFP+ ports for me to create an aggregated LAG from my core 10G switch to provide line rate speeds across multiple ports without fear of throttling.
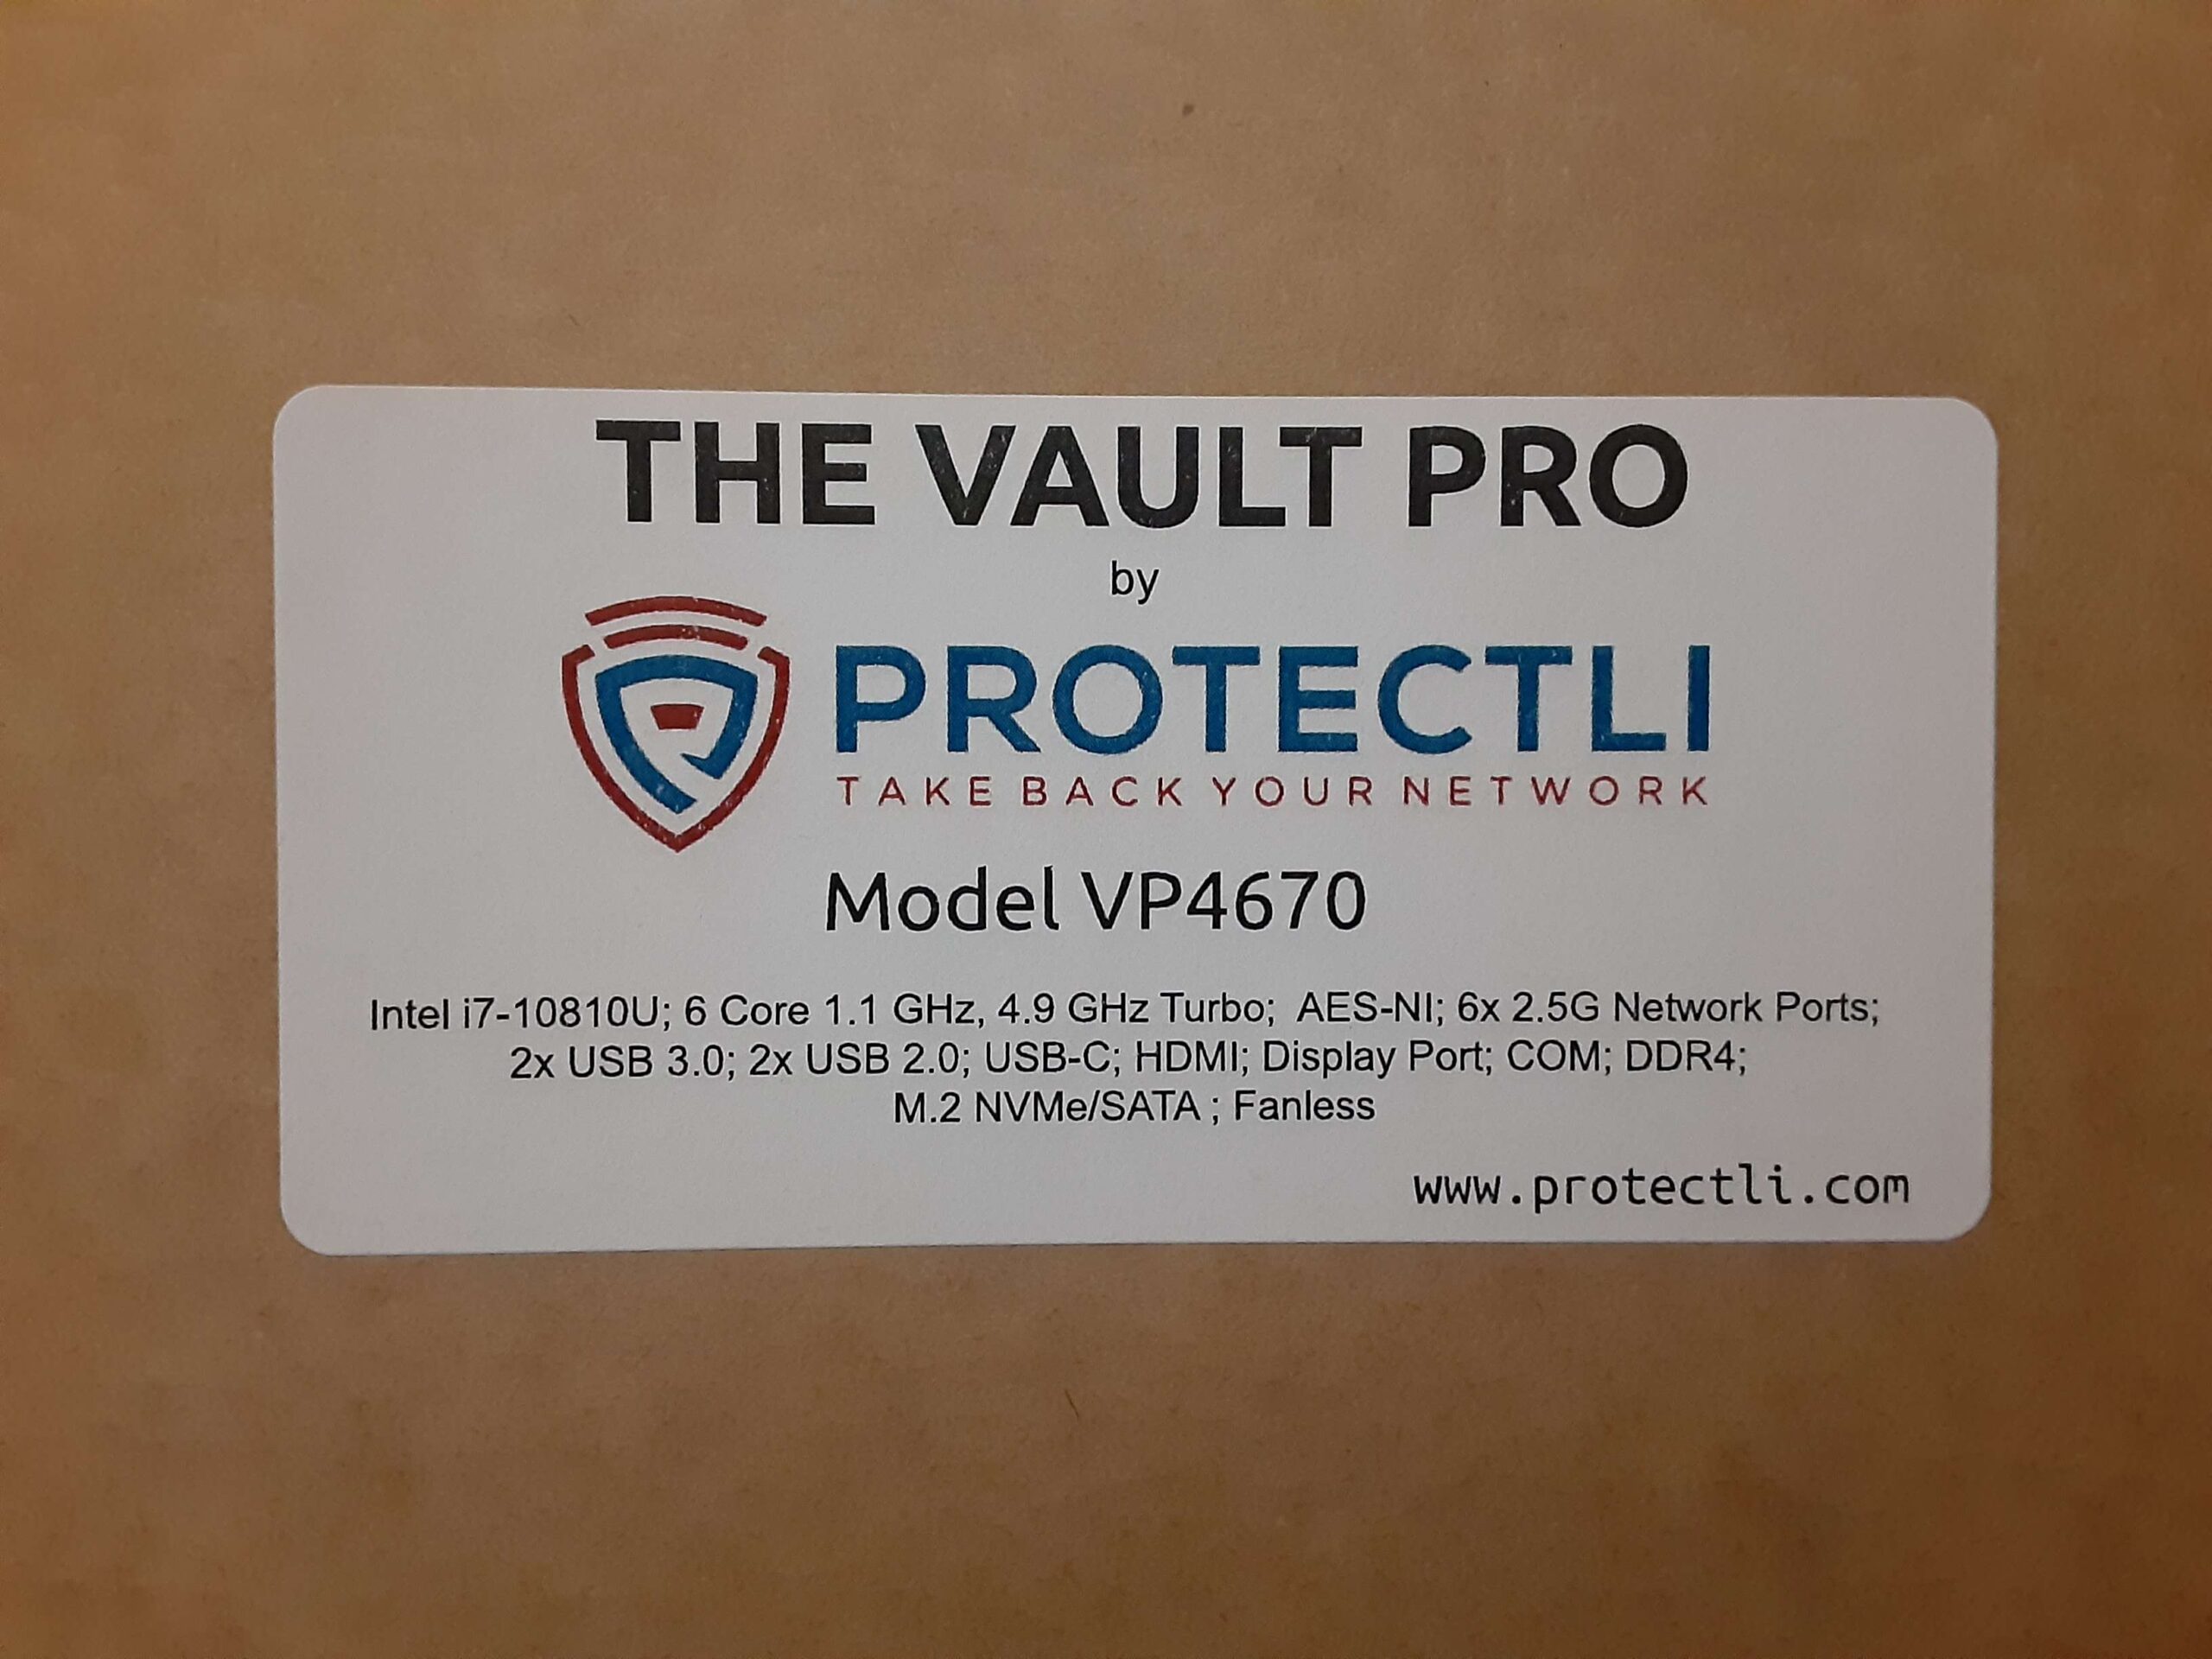
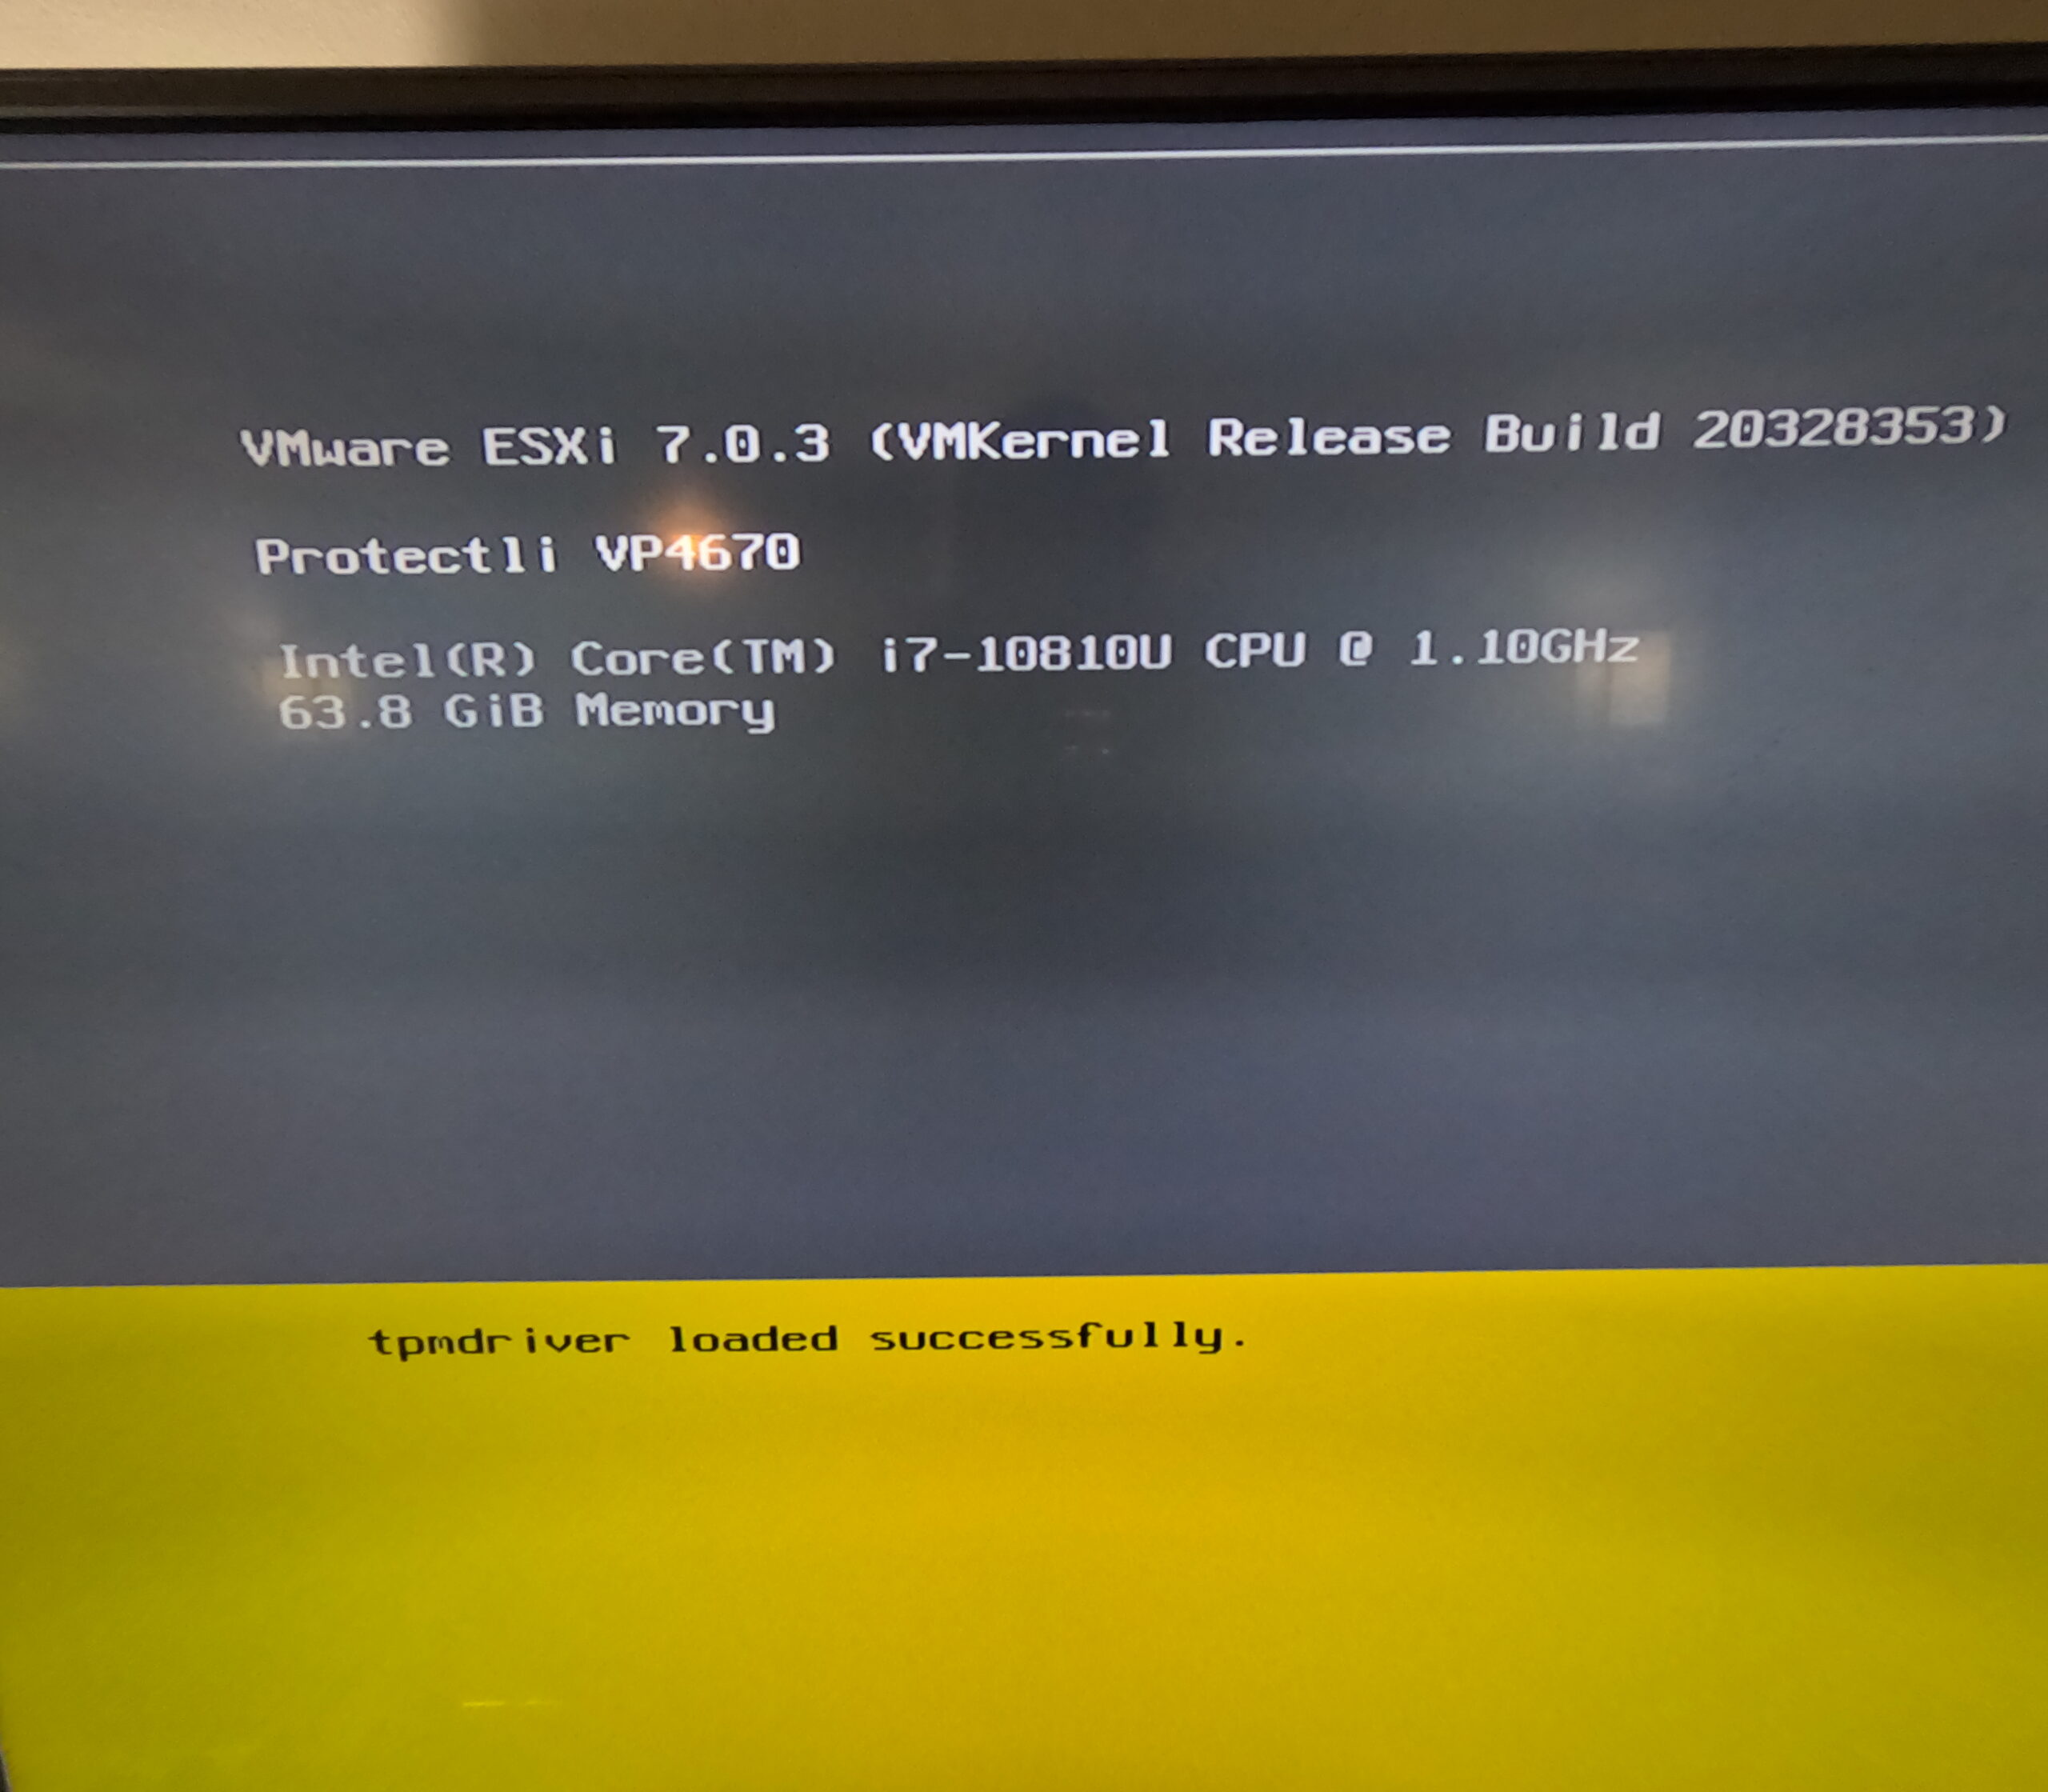
Then the day came and the 2.5G Protectli vault arrived, specifically speaking the VP4670.
After unboxing from the packaging I was presented with this cute box:
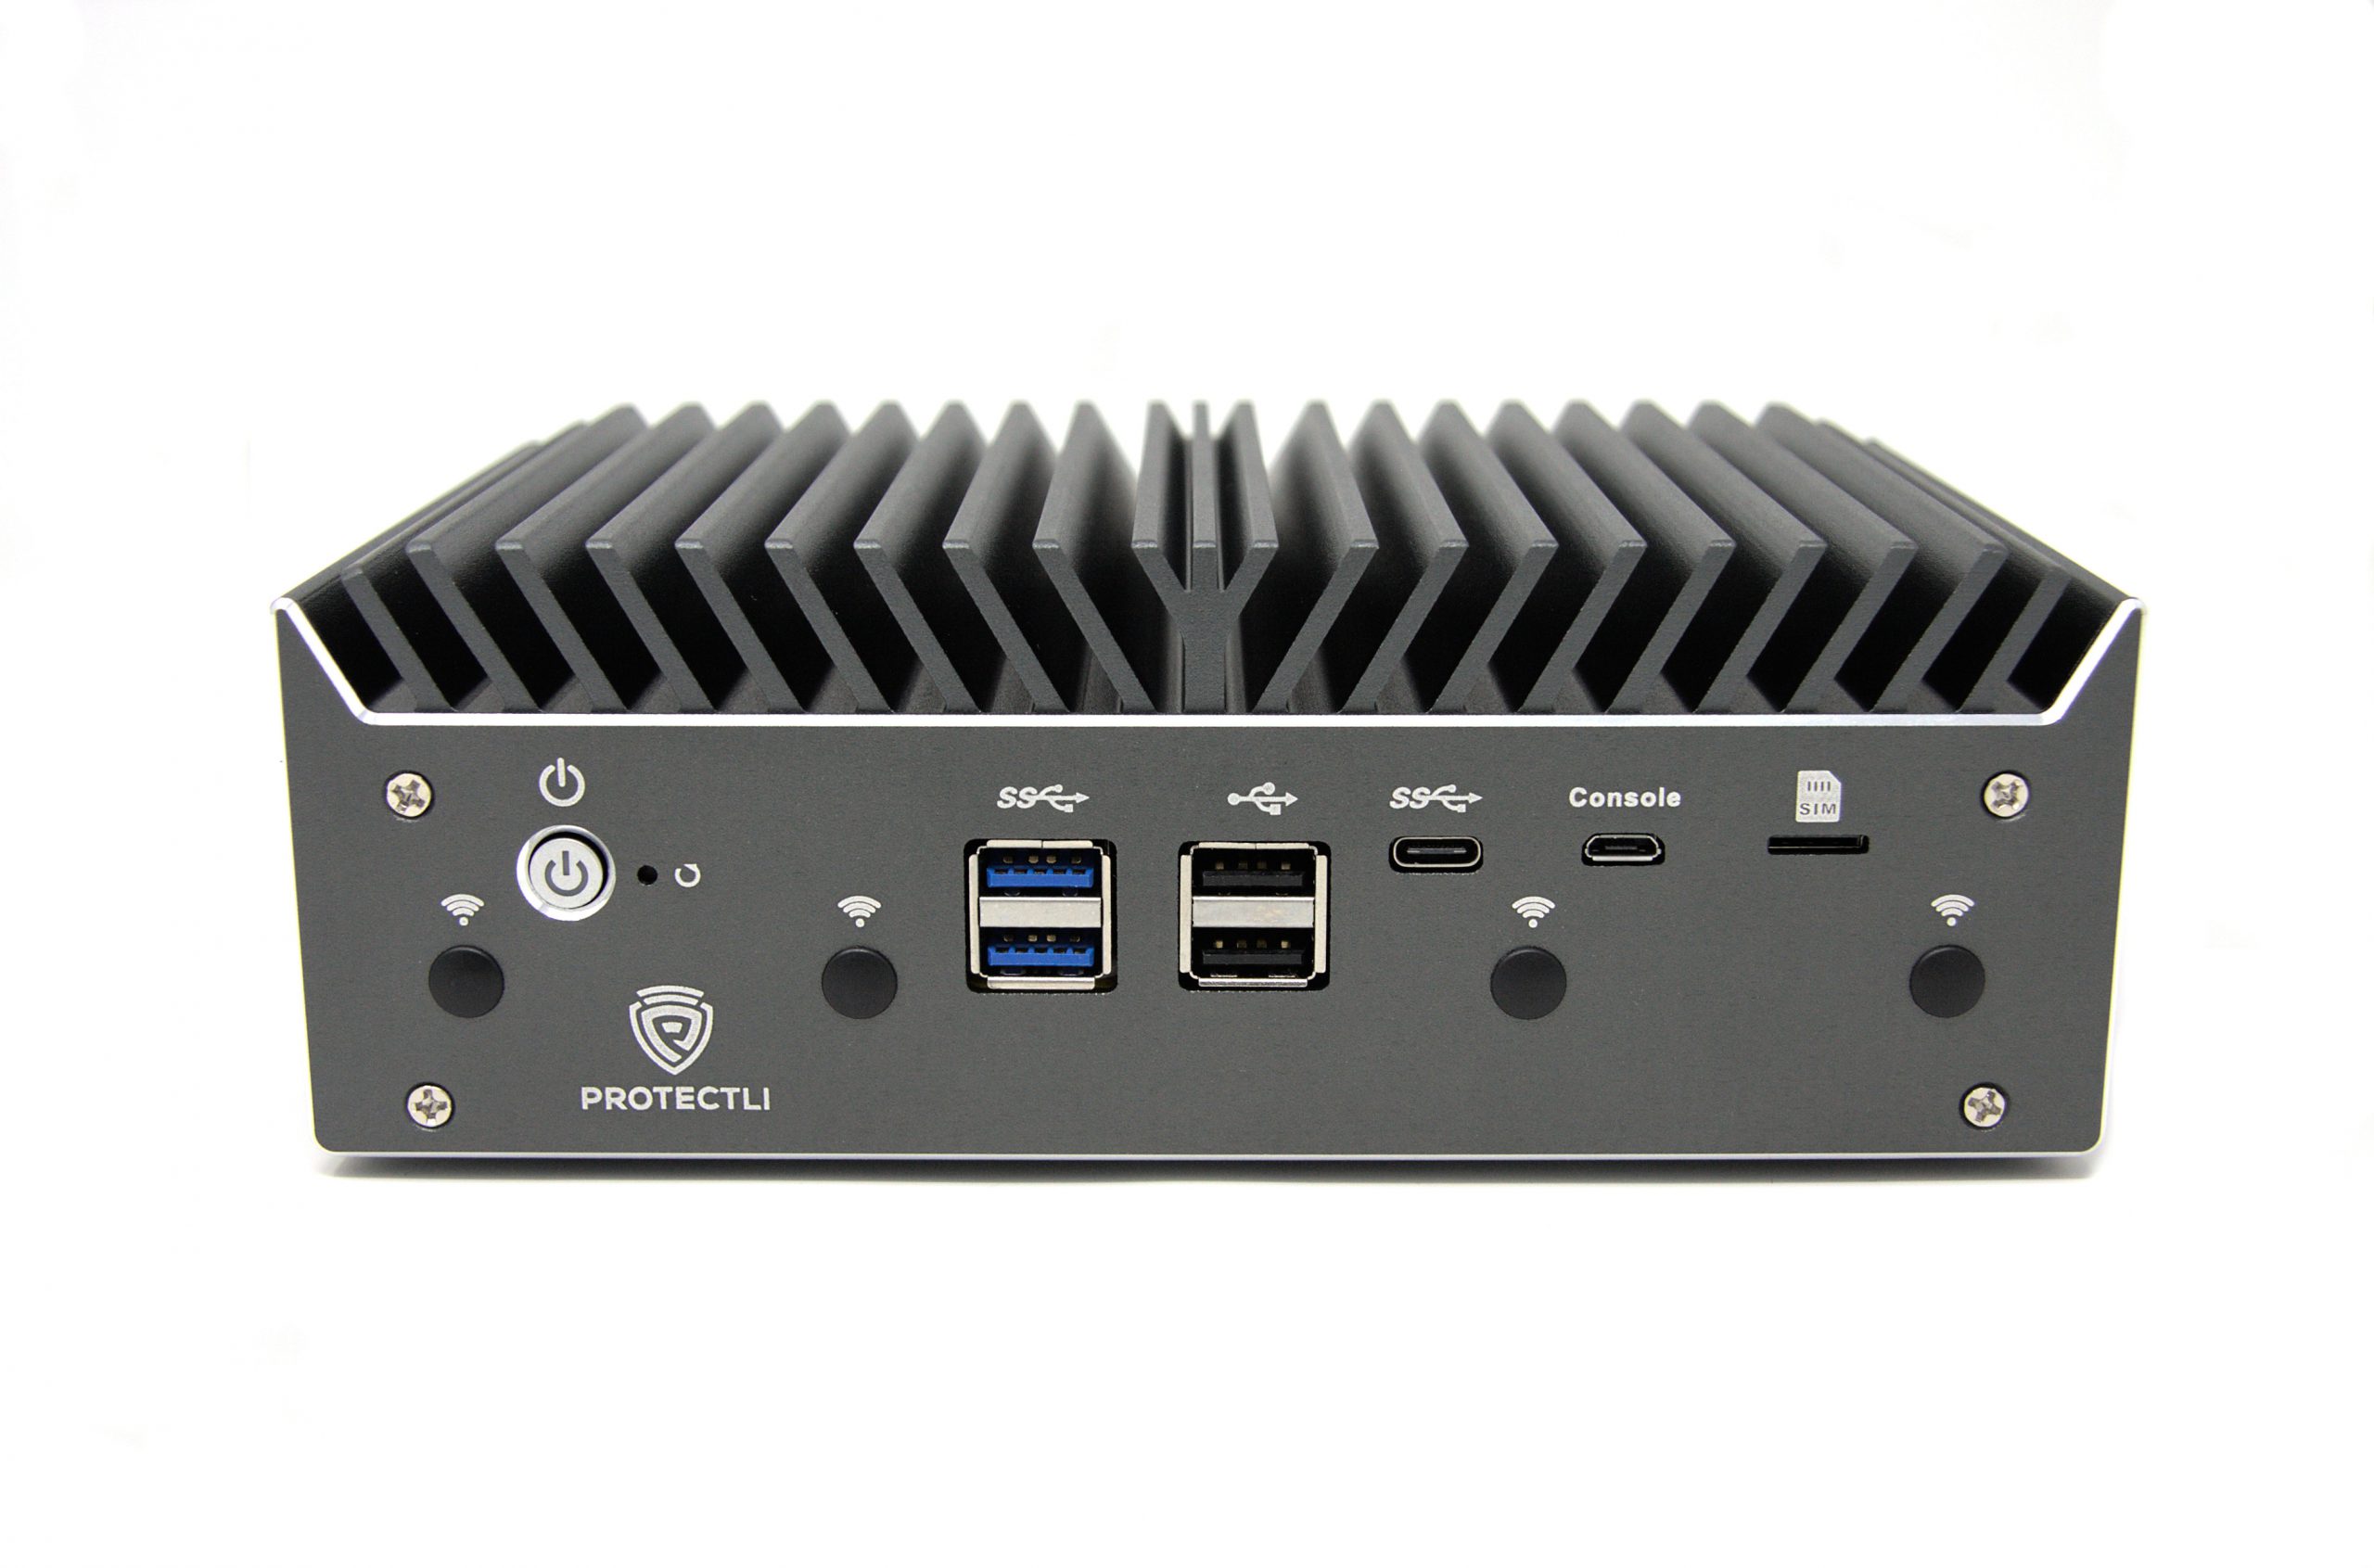
Here is a front-facing view:
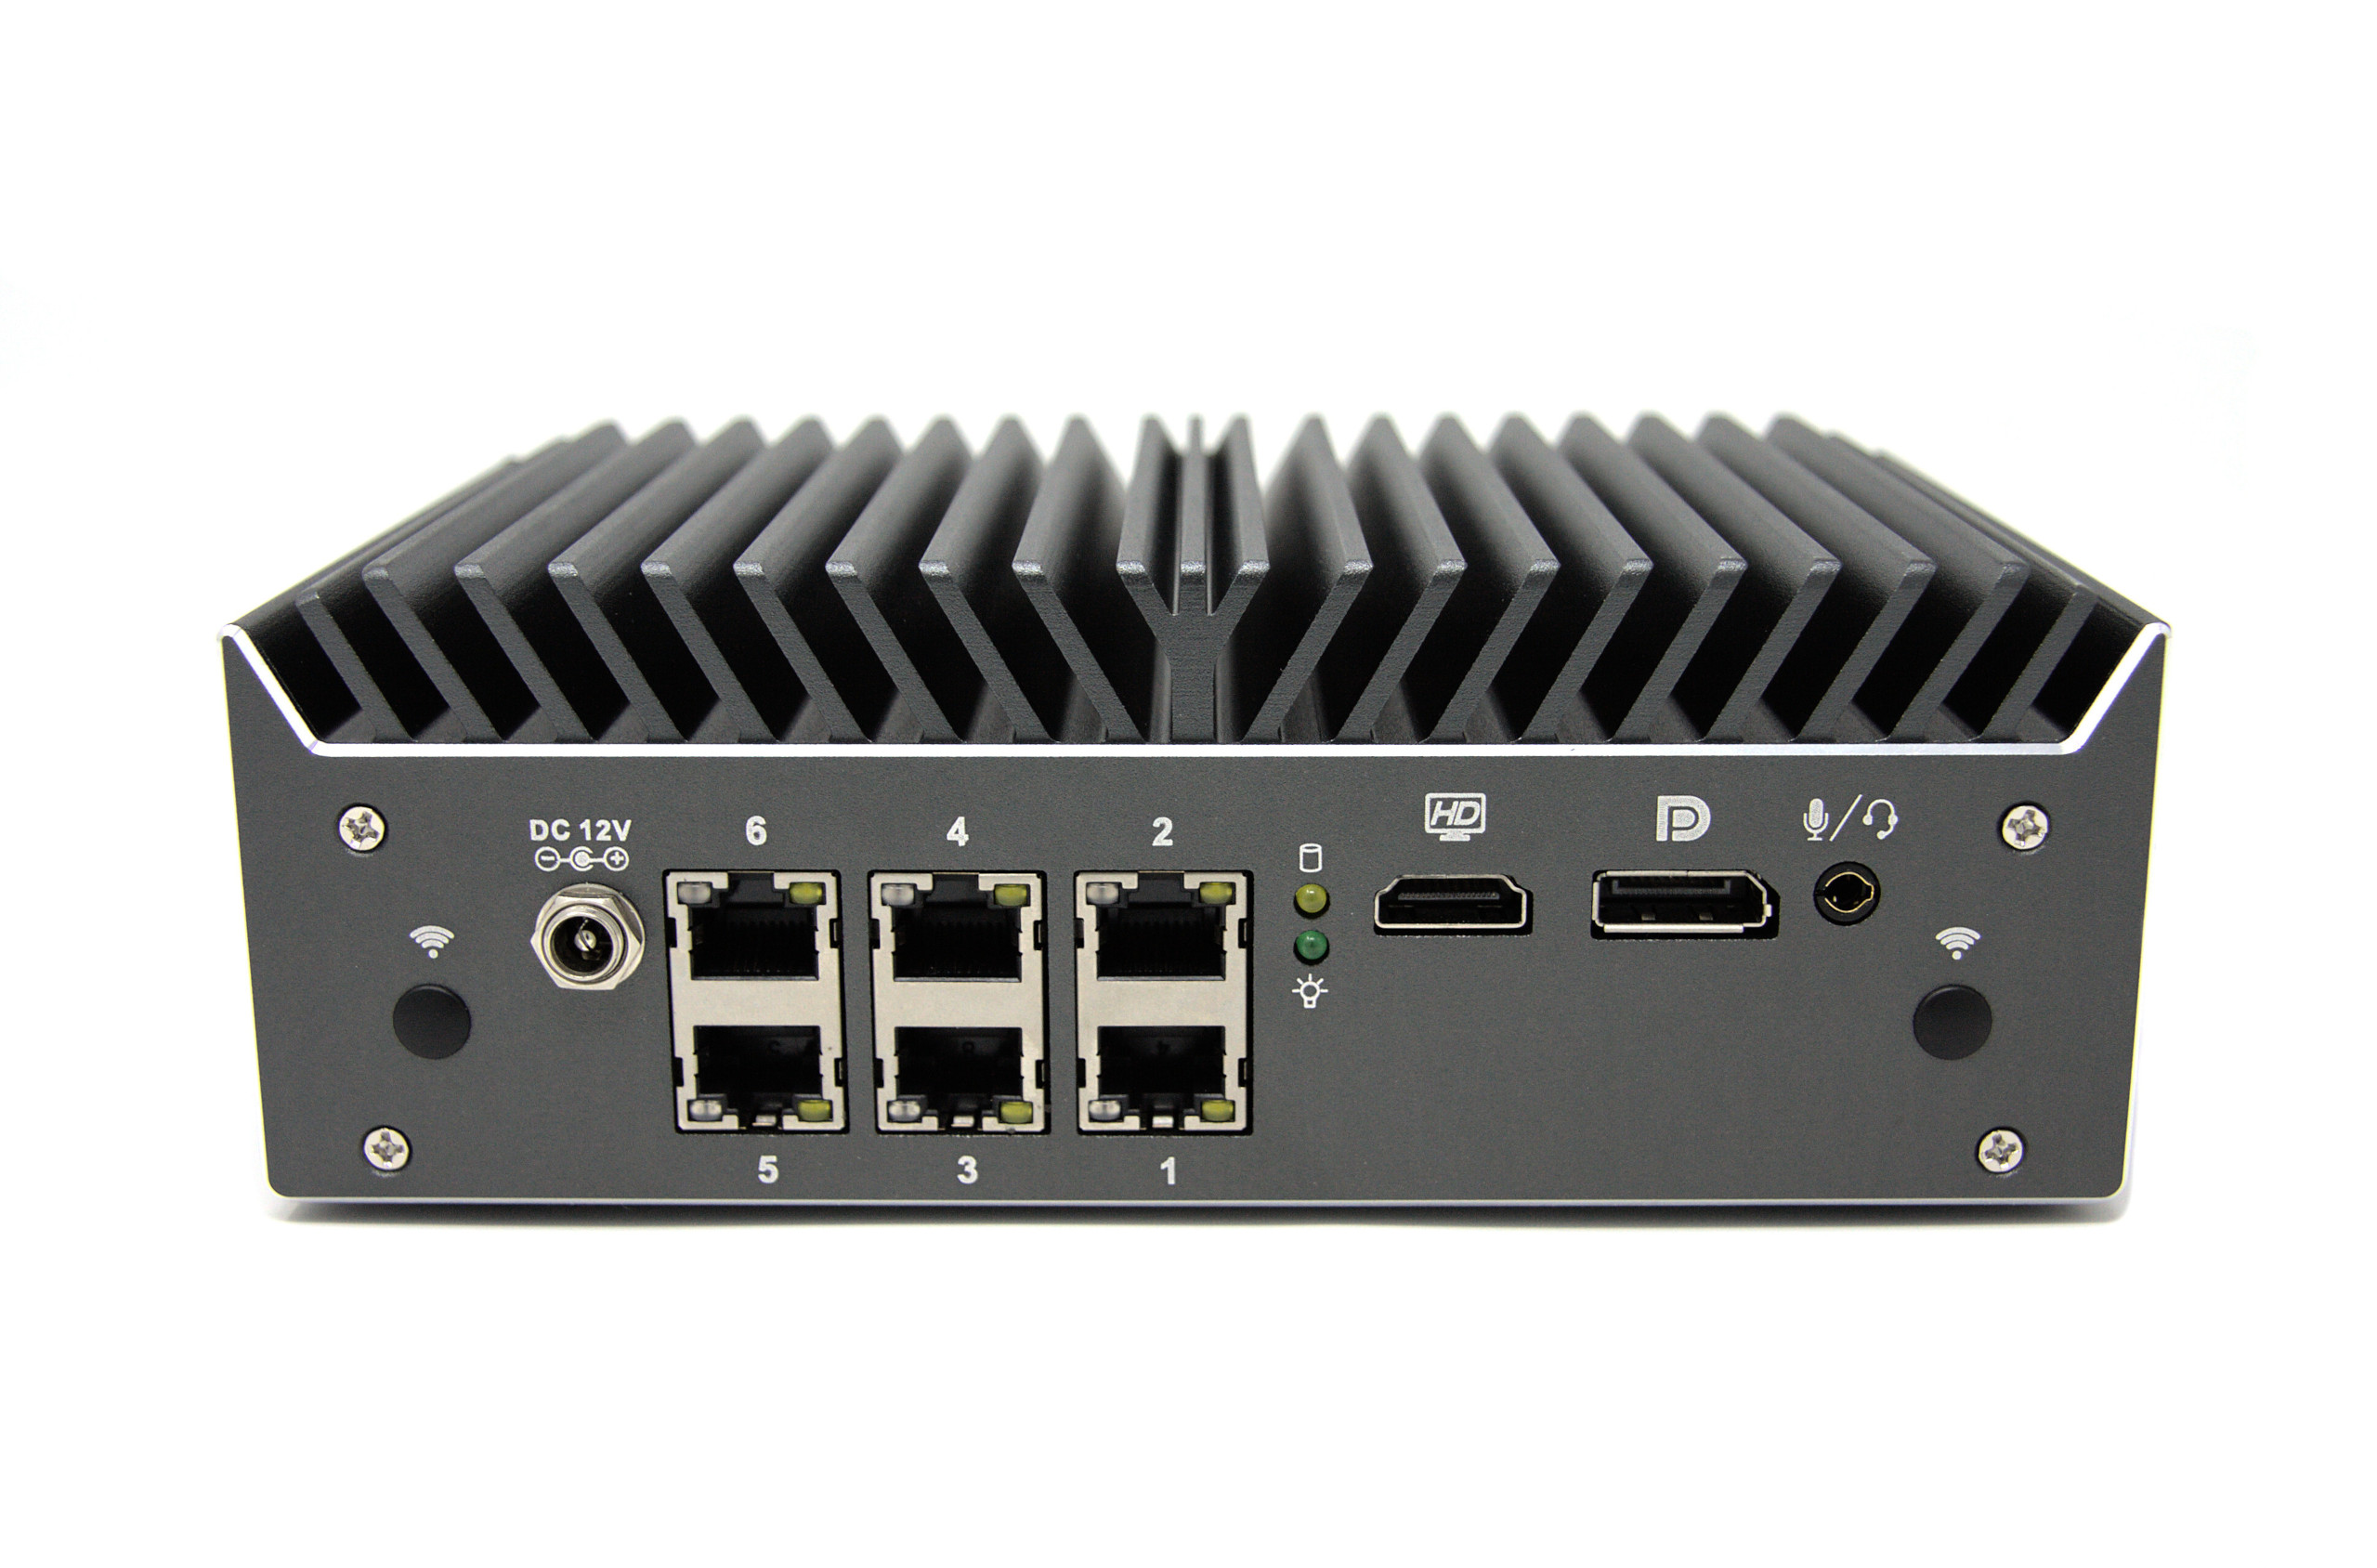
Here is a rear-facing view:
Here is a side-angled view:
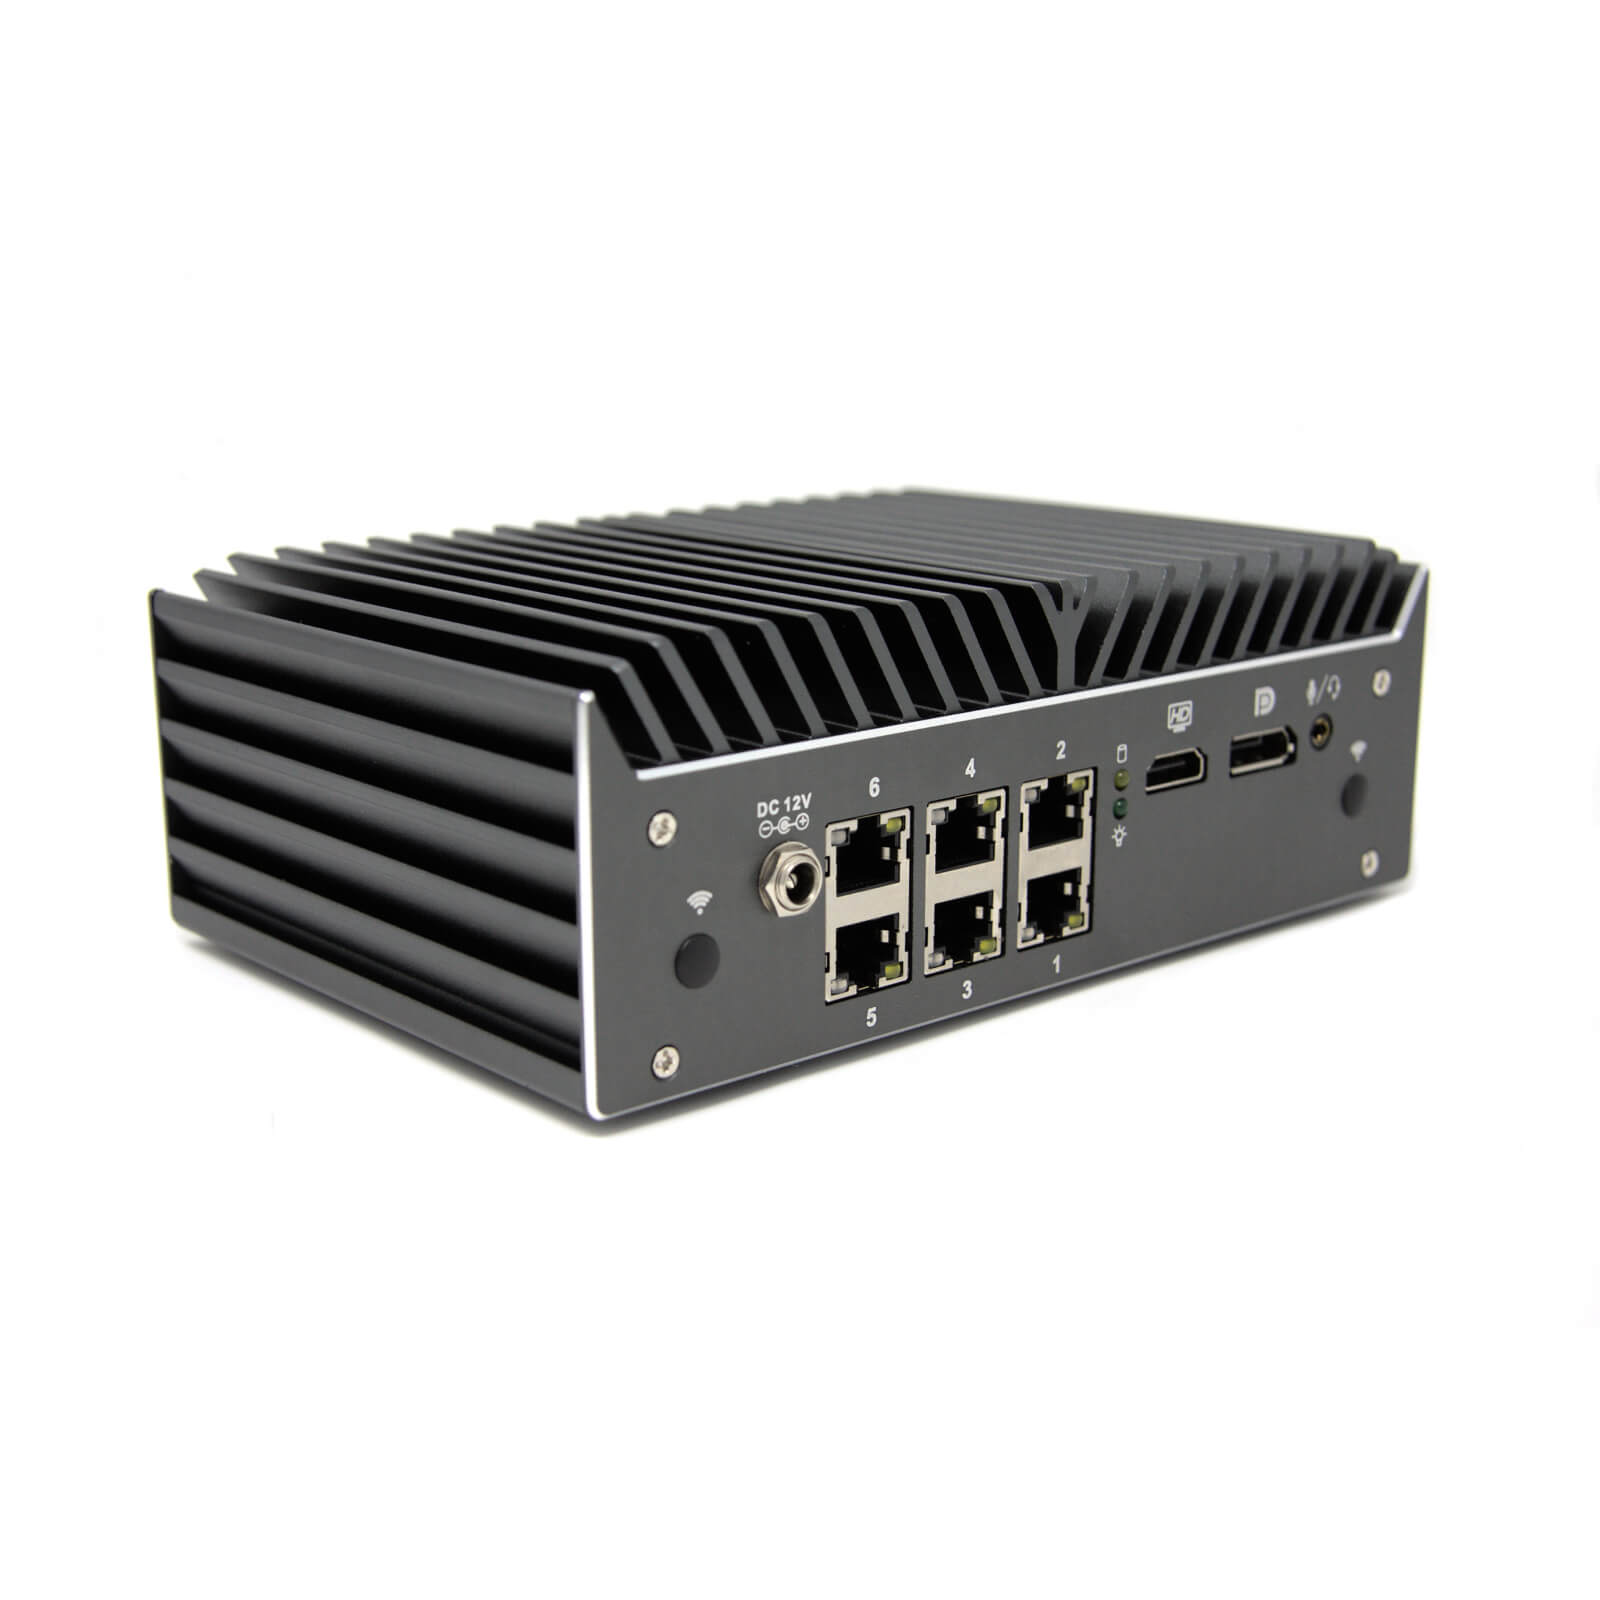
At first glance, she is an elegantly gorgeous unit, she is rugged-looking yet polished where she is needed. All of the components are solidly built, nothing is cheap looking and the craftsmanship of the box itself is superb.
Upon opening the box you are amazed by all of the expansion slots, you have a SATA3 connector and power, an M.2 key for an NVMe SSD, and you have an M.2 key for Wi-Fi, an LTE module for cellular, a connector module for a TPM 2.0 chip can be found tucked away along the edge and you also see the 2 memory slots that hold up to a max of 64 GB of RAM.
Note: the unit also comes with 16 GB of eMMC storage on the board which is beyond the minimum of 1.6 GB for ESXi, even though the recommendation is for large storage space, it is enough for it to work.
I opted to install ESXi on a SATA3 SSD, but the option is there for those who want to use it in this configuration.
Here is a picture of the inside of the vault (without anything in it):

Here is a picture of the inside of the vault (with slots populated):

VMware: Installing ESXi
After unboxing her and taking her apart to view the internal components, I loaded her up with 64 GB of RAM from Newegg, a 1 TB NVMe Samsung Evo SSD, and a 1 TB WD Blue SATA3 SSD. I then proceeded to install ESXi 7.0 on the unit, as shown below. The installation was simple, nothing special or different from other ESXi installs.
But for those new to VMware, you’ll need the following:
- USB flash drive, preferably USB 3.0 with 16 GB of space
- Rufus imager
- ESXi installer .iso, you get this by creating an account on vmware.com and downloading a free trial by purchasing VMware VMUG Advantage, or by applying to become a VMware vExpert
- Rip the ESXi .iso onto the flash drive via Rufus
- Insert the Rufus flash drive into the Protectli after it is plugged into power and HDMI/keyboard is plugged into the device
- Follow the on-screen instructions on how to install any other normal ESXi install including setting your root password
- Once it finishes installing, reboot, and wait for ESXi to load
- Configure your management IP by pressing F2 and entering your root password, keeping root as your default login
- Then just access ESXi via the management IP and NIC defined in the setup process that has a network cable into your home network’s LAN.
Note: this is extremely crude in terms of an explanation, see my conclusion if you need help getting started with ESXi and/or installing it on a Protectli. I’m happy to help those that need it. ^_^
The unit was only kept at 7.0 for a little bit cause I soon realized the base ESXi install didn’t have the additional vibs of the drivers for the Intel I225-V for the 2.5G NIC. You can install the I225-V driver for ESXi 7.0, and those steps are here: link
In the end, I just ended up installing ESXi 8.0U1 as the I225-V drivers were already on the installer. I was a little lazy. 😛
The VP4670 is now operating at 8.0U2 after being upgraded in-place:
The command I used in the CLI to upgrade her was:
esxcli software profile update -p ESXi-8.0U2-22380479-standard -d https://hostupdate.vmware.com/software/VUM/PRODUCTION/main/vmw-depot-index.xml
How does it run VMware?
VMware runs surprisingly well.
Here is a screenshot of the main dashboard of ESXi 8.0U2:

It has very little fanfare apart from this account cause as we all know if the drivers load up like the NICs, ESXi loads up fine after installation, and you can log into ESXi the rest of the VMware experience is par with the course of other server solutions.
Something of worthy note is that the Intel processor has a turbo mode; sometimes if the ESXi host is experiencing an overloaded state it will exceed the shown capacity of the processor and this causes the turbo mode to kick in.
I’ve had the VP4670 running for over 4 months and never once had an issue with the unit in terms of its stability; it just was humming away and servicing the needs of the home-lab workloads.
I’ve tried for months now to get the ESXi host to lock up or for a stress test to break the unit and so far nothing has caused it to crash. I’m very impressed with this device that was designed to be used as a high-powered firewall.
The process for getting this VP4670 fully working at 2.5G was of no fault of the Protectli unit itself and more or less a software bug of the QNAP 2.5G switch. The problem lay with its inability to support an MTU of 9000 with default settings, I had to get in touch with QNAP support for them to set the switch globally to 10240 for iSCSI to work over 2.5G speeds. Meanwhile, the Protectli was working perfectly fine over 1G speeds.
For those curious, here is a short story about my home lab leading up to using the Protectli VP4670’s and a little back history of why I started down this path: host-based security and reduced power consumption.
Let’s talk about Power Consumption
What would this posting about the Protectli VP4670 be without a focus on its power consumption?
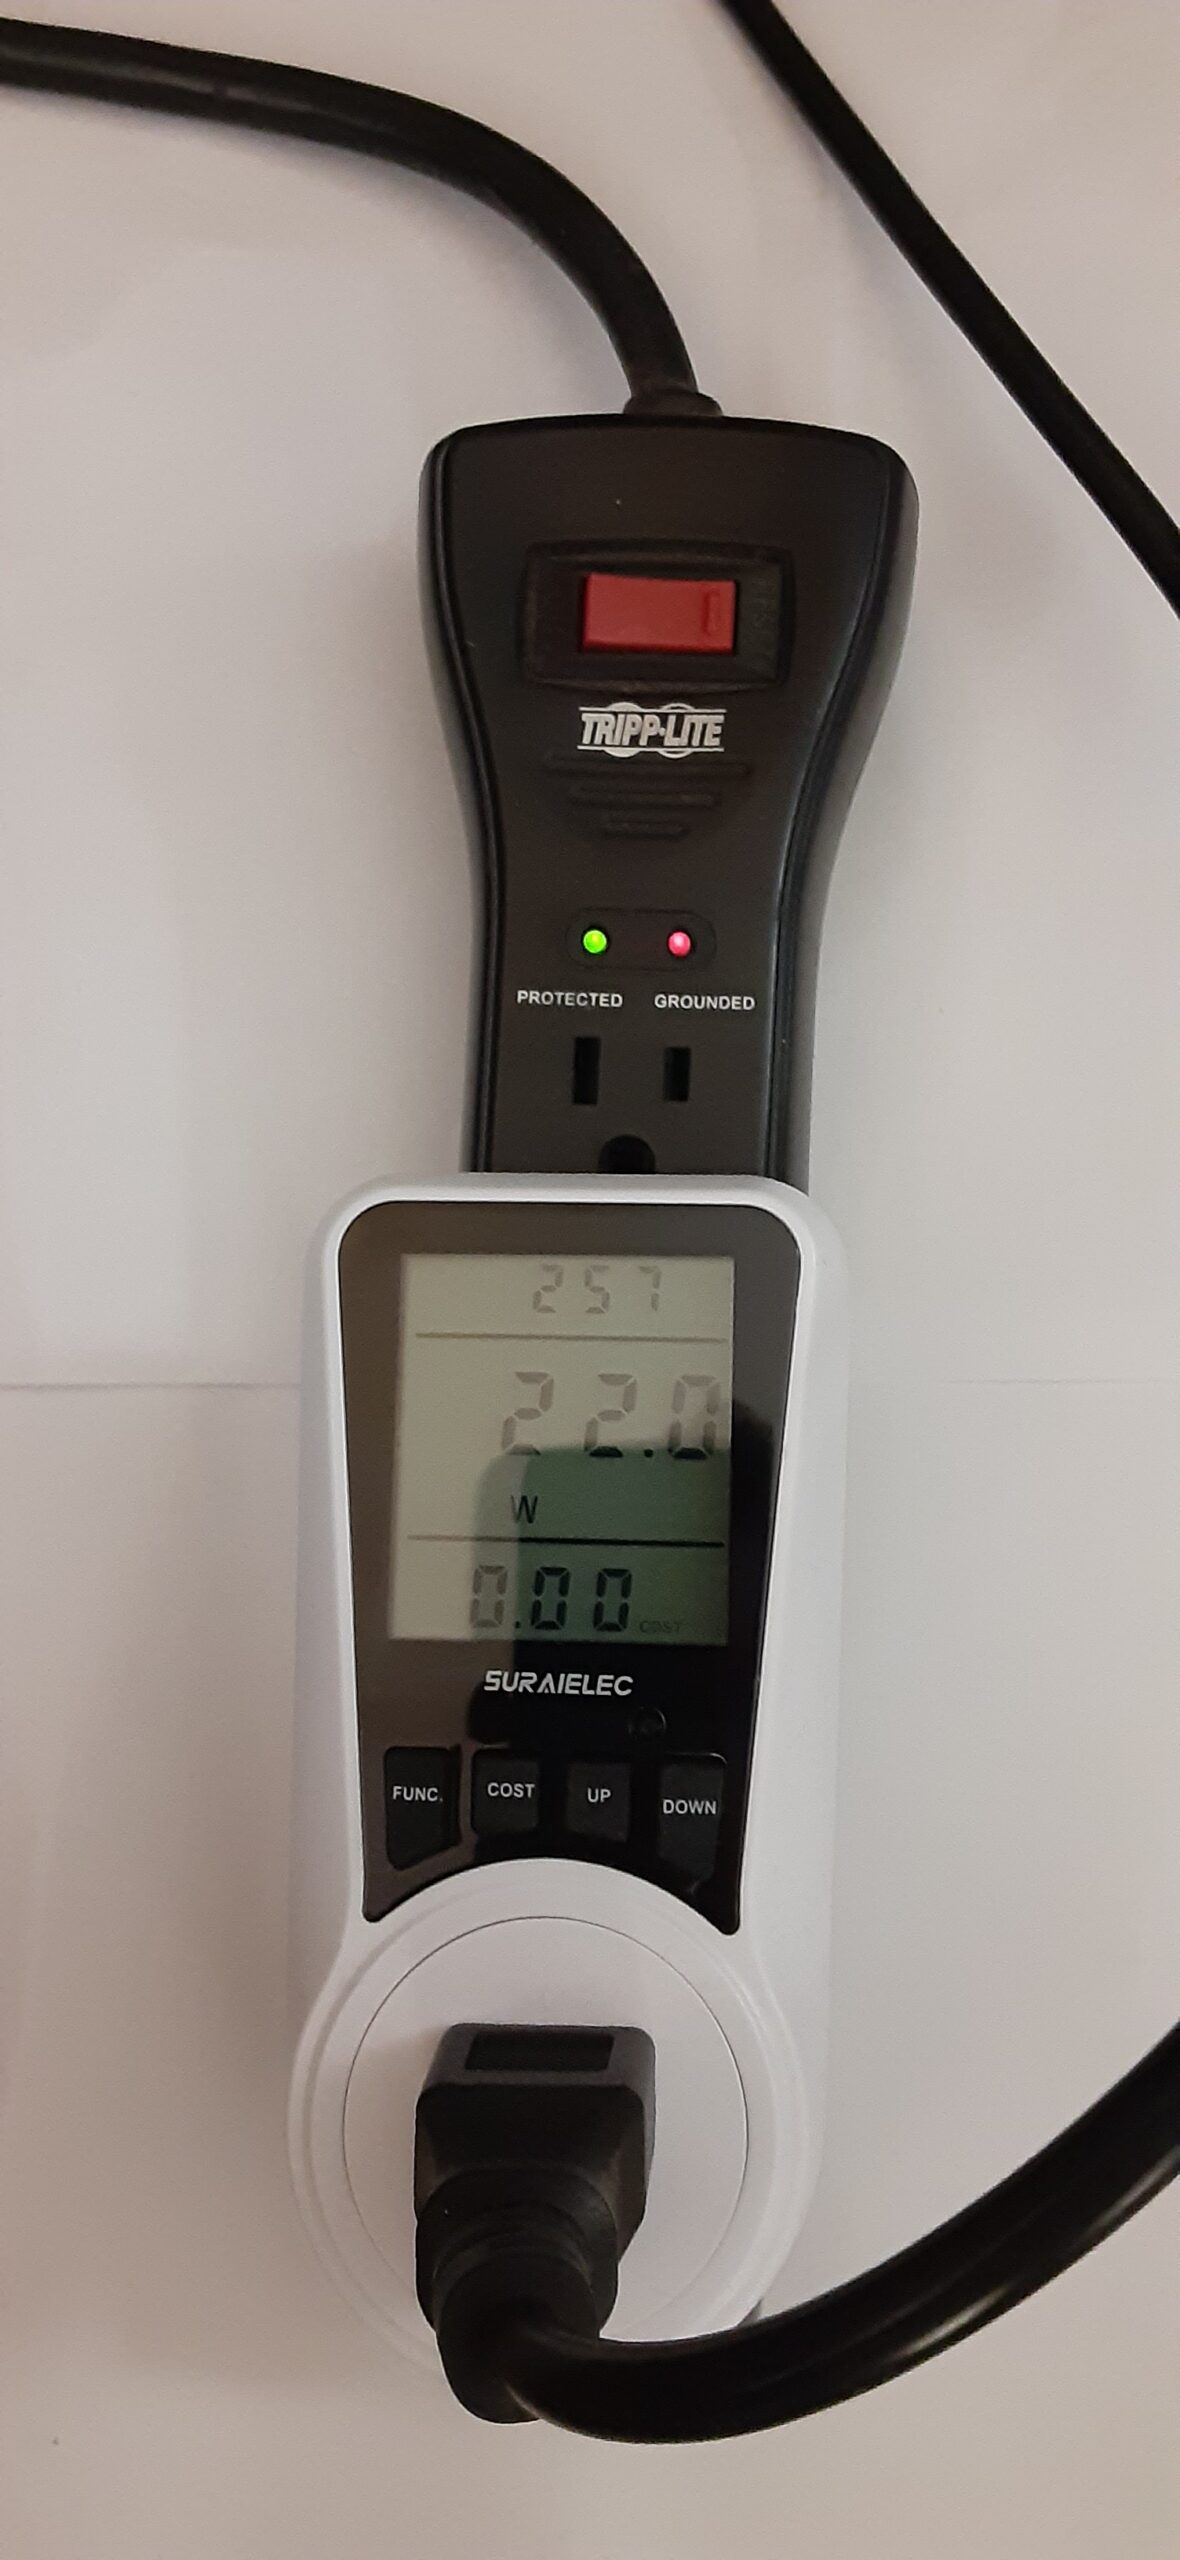
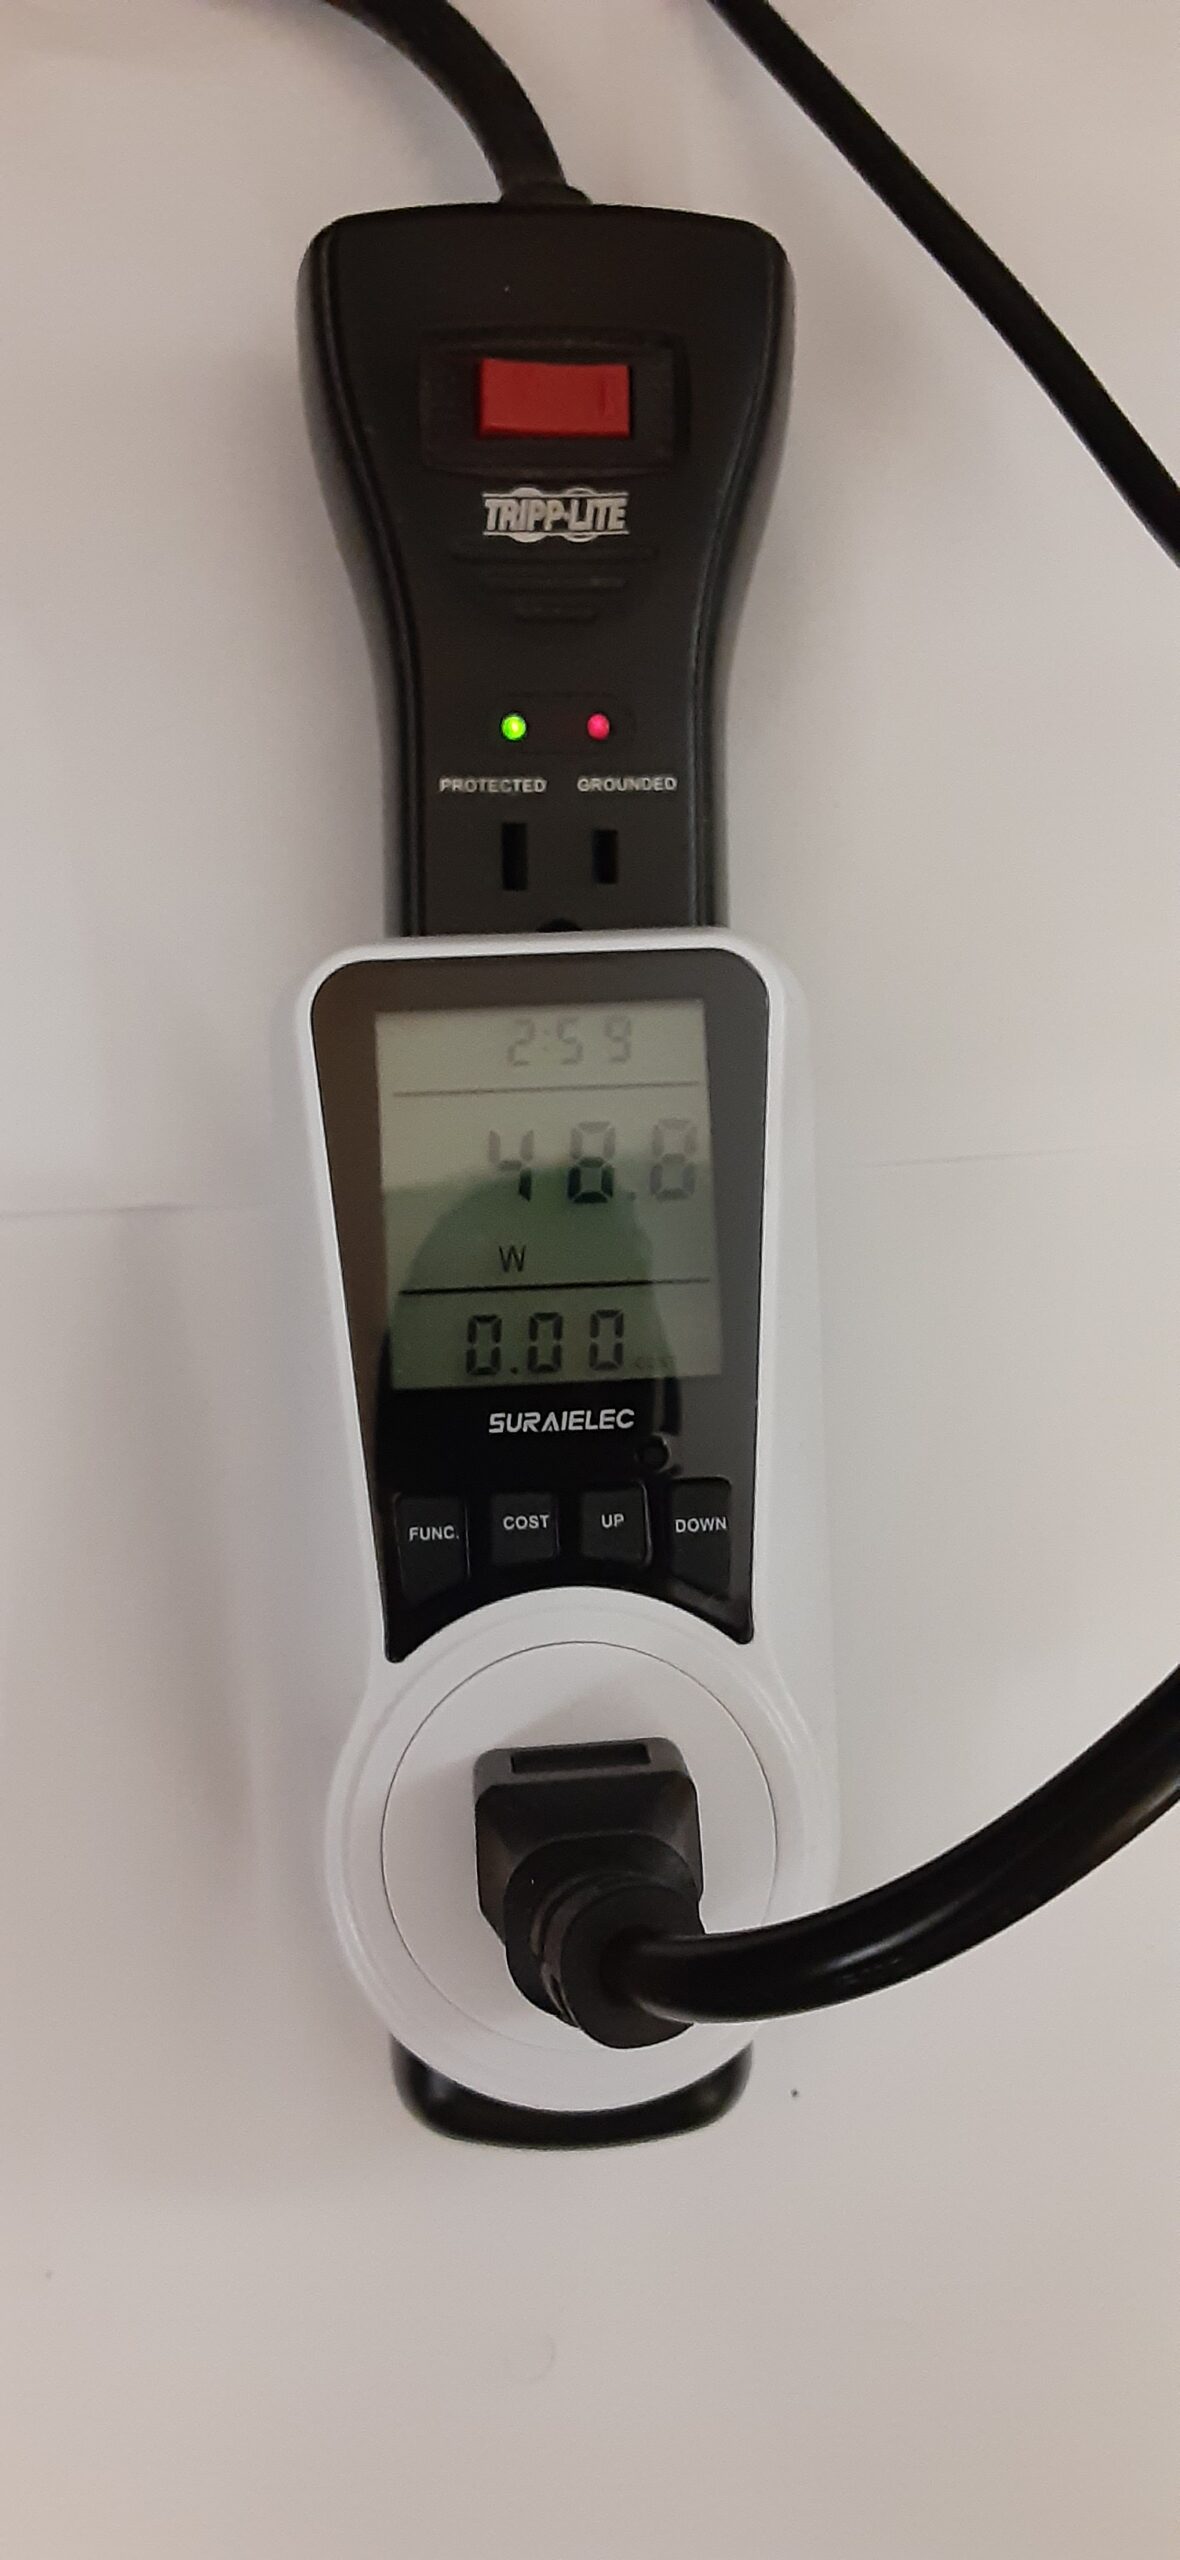
I ordered a power wattage plug from Amazon, then plugged in the device and monitored the wattage throughout the process.
Let’s start:
- Plugged into an outlet but not powered on: 8.5 watts
- Plugged into an outlet, powering on: 14 watts
- VMware ESXi loaded and VM workload powered off: 22.0 watts
- VMware workload, all 12 VMs powering on at the same time: 48.8 watts
- VMware workload leveling off and idling: 25.8 watts
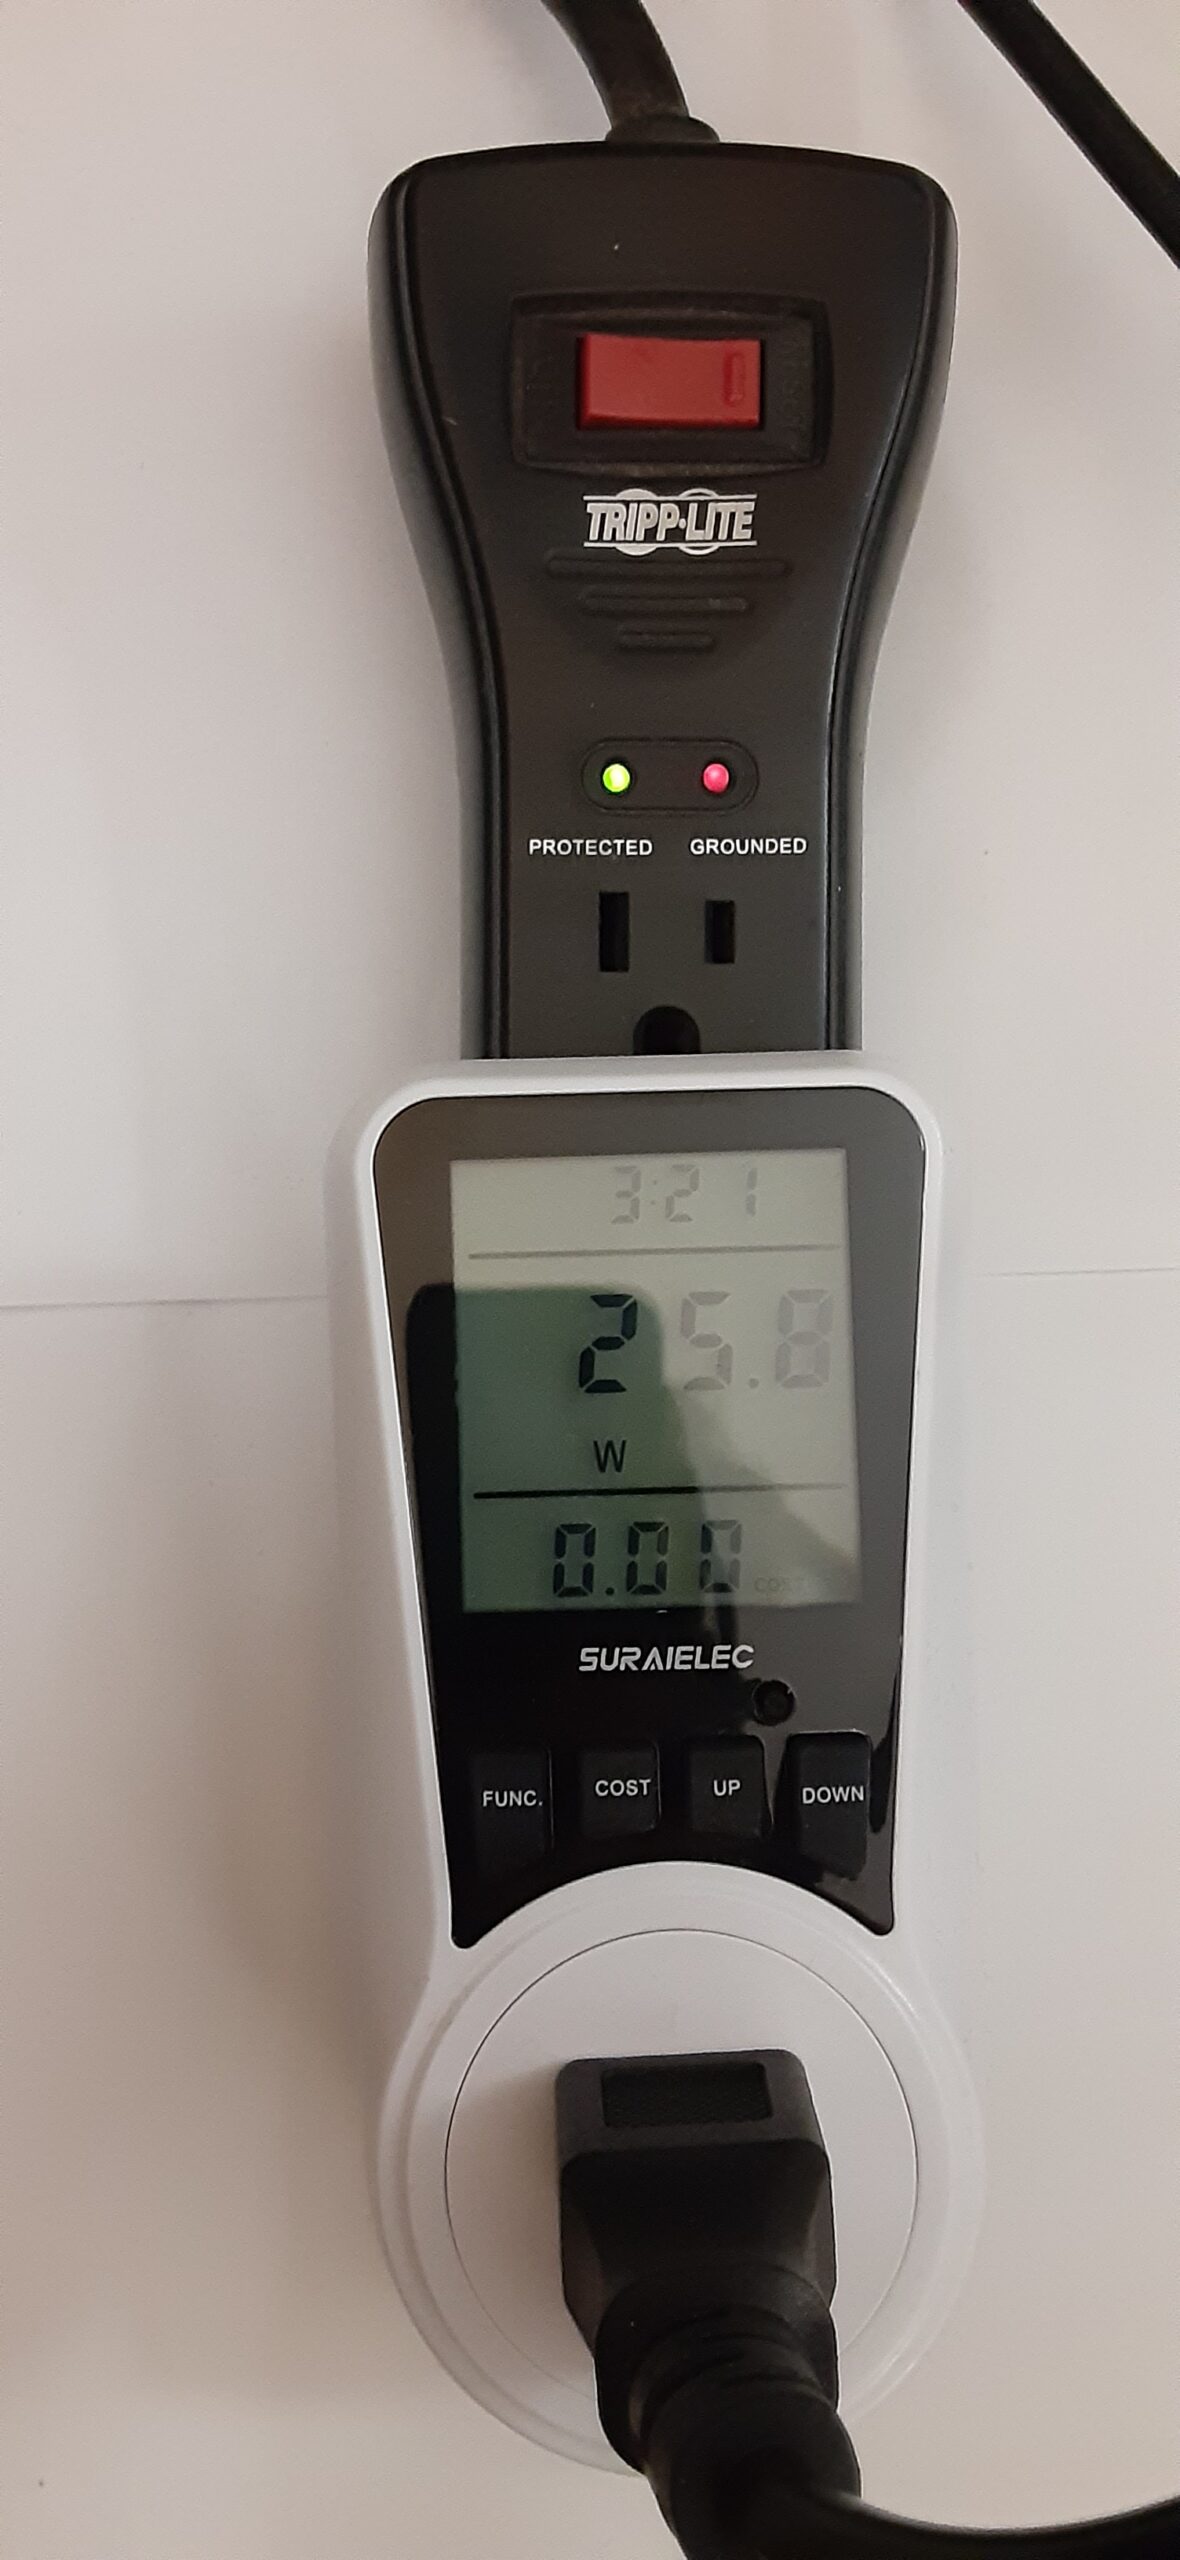
- VMware variable workload: 25.8 watts to 37.6 watts
- Average 24-hour KWh: 0.673
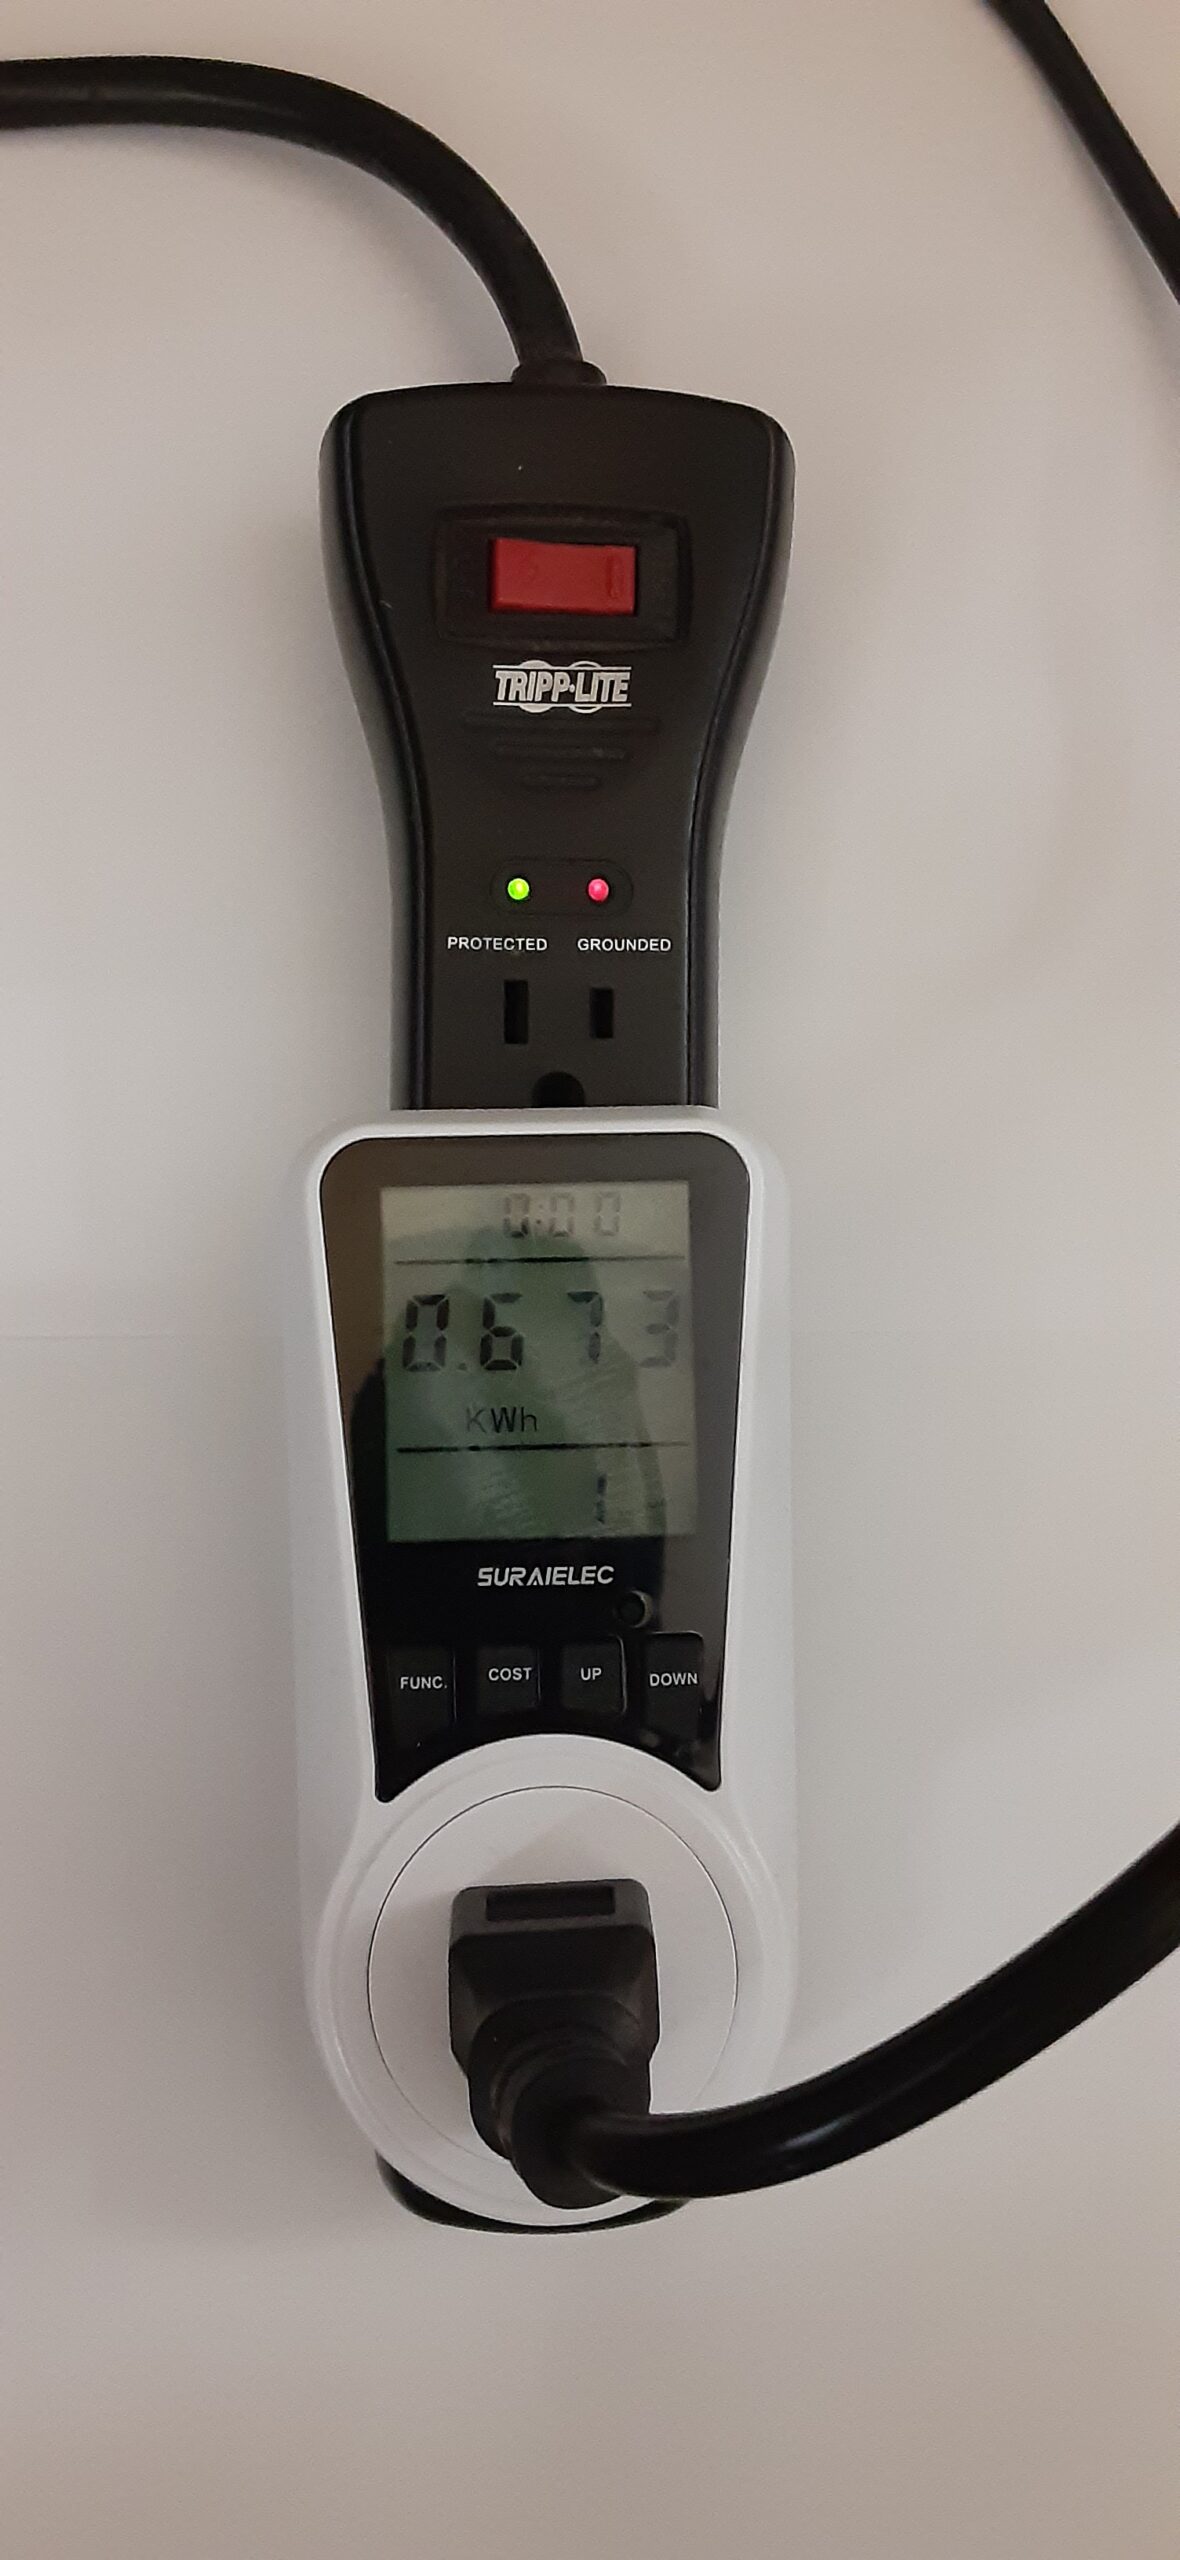
All in all the unit keeps power consumption at reasonable levels and is way less than a normal blade server or high-powered server.
Something of note, I do have a USB 80 mm fan with silicone boots on top of the passive cooling heatsinks to further enhance cooling plugged into one of the USB 2.0 ports, but after looking at power consumption this only tacks on 1-1.2 watts more electricity with the fan running at full power.
Protectli has released official metrics on the power consumption of their units and these can be found: here.
Cooling: Who needs a fan, overheating is overrated. 😛
You’d think with a device of this quality that you’d need active cooling. But the VP4670 and previous generations of Protectli units utilize highly heat-conductive cases with passive cooling fins that dissipate heat with effortless ease.
I had the unit running at max utilized memory of 64 GB for weeks with 14 VMs without a fan and it never once crashed cause of overheating or performance hiccups.
If you are really concerned, the VP4670 does come with (2) USB 2.0 slots and (2) USB 3.0 slots and you could plug in an 80 or 120-mm fan with silicon booties to sit on top of the unit and that would work extremely well.
I personally opted to use an 80 mm fan with silicone booties and it really helped to blow a gentle amount of air over the passive cooling fins and it keeps the whole unit nice and cool – is it needed? … nope…
I would though recommend a fan to ensure the longevity and performance of the unit.
Note: Protectli does offer a 2.1U (it’s slightly higher than 2U of rack space) rack-mountable tray for up to 2 Protectli vaults and they are open air so it should provide enough airflow to cool them. A fan in a server rack might do just the trick. The tray can be found: here
2.5G: 1G has finally met its maker?
The VP4670’s shining features aren’t only its low power consumption but its performance while at low power namely 2.5G speeds on all 6 ports. These ports are powered by the Intel I225-V chipset.
Note: for test result purposes, the networking was set for maximum line rate speeds of 2.5G from the VP4670 as well as downstream to the QNAP 2.5G switch. The QNAP 2.5G switch then had a 10G uplink into a QNAP all-flash NAS, so the theoretically max speed is 2.5G. Jumbo Frames were used for iSCSI and networking for LAN was also set end-to-end for 2.5G.
Below are some example(s) of transfer speeds from my laptop over a 2.5G thunderbolt adapter into the QNAP 2.5G switch and into a Windows Server 2022 File Server using a VMXNET3 nic for the VM to get the maximum speed possible of the ESXi hosts’ vSS backplane:
Here are the transfer speeds of the securityonion.iso over 1G speeds to the File Server at a modest 27.6 MB/s:
![]()
Here is a picture of the Killer E3100U 2.5 nic as the active connection:

Here are the transfer speeds of the securityonion.iso over 2.5G speeds to the File Server at a blazing 106 MB/s:
![]()
Clearly, the 2.5G is able to perform at speeds much higher than 1G speeds, and the speeds are sustained over 75 MB/s throughout the transfer.
While I was working through the MTU bug as mentioned earlier with the QNAP 2.5G switch for about 3 months I was using this device at its 1G speeds as the 2.5G speeds weren’t working as desired. Now that the bug has been fixed and the VP4670 can operate at line rate speeds of 2.5G, I can honestly say the transfer speeds are appreciated: transfer speeds of files are faster, booting up into Windows is faster, WSUS performing patching is faster, SQL queries run way faster, Veeam performs backups way faster to the point now that bottleneck is the line rate of the 2.5G speeds.
Overall, if you want speeds faster than 1G, this VP4670’s 2.5G delivers.
CPU: It is all about the nanometers!
The Intel chip in this unit is the Intel(R) Core(TM) i7-10810U CPU @ 1.10GHz with 6 cores with Hyperthreading for a total of 12 cores. This is a 10th-generation mobile-breed processor fabricated at 14 nm’s with a 15W TDP with a turbo bumping it to 25W RDP; this is the hallmark of how this processor is able to perform well with the VMware vCPU Scheduler while keeping power consumption low.
I’ve been able to comfortably run several VMs with 1 and 2 vCPUs and also have up to 6 VMs with 4 vCPUs and the machine handles the load well. I did not however set a VM to have 8 vCPUs as that is excessive and as many of you know in the VMware space adding more vCPUs doesn’t equate to better performance.
The turbo feature on the chip did kick in a few times for all of the VMs when the machine was rebooted and I set all of the VMs to turn on at once, to see what it would do. It also kicked in when Veeam was doing a backup job, Nessus was doing a vulnerability scan, Security Onion was doing an MITRE sweep of my network, and AT&T’s OSSIM SIEM was parsing event logs; I did this on purpose to really stress test the unit to see what it would do.
The VP4670 lived in this turbo state for about 45 minutes before the Veeam backup job finished and the CPU load on the box became within normal operating frequencies. Sure it got a little bit warmer, but with the 80mm fan it kept it cool and the ESXi host never once crashed or lost stability.
Memory: Nothing new here, move along…
I’m only mentioning this here since this might be the only con of the unit; it’s limited to 64 GB of RAM but at least it has dual data rate (DDR).
This device wasn’t meant for a really large memory capacity as it was designed to be a really secure firewall for open-source security solutions, but it does handle workloads very well with the memory allocated to the VP4670. VMware does a very good job of managing the memory.
VMware vSAN: is it possible?
As mentioned previously, the VP4670 does have 16 GB of eMMC storage on the device, and with the M.2 slot and SATA3 connector one could use one of the drives as a data drive and the other as a cache drive and enable the machine as a vSAN enabled host. The only problem I foresee happening is the logs folder on the 16 GB filled up and caused the ESXi host to not turn on after a reboot or crash altogether.
I have high hopes for the future for Protectli to release their next version of their units with more storage space as I did ask for more storage space in upcoming releases, so stay tuned if this occurs.
Security: this is the bread-n-butter of Protectli
Pass me the Protectli butter! 😛
Protectli vaults, like the VP4670, at their core are meant to be appliances for security-based solutions like firewalls, SIEMs, syslog collectors, and TPM-hardened desktops, servers, and hypervisors.
Protectli vaults ship with your traditional BIOS or they also have the option for Coreboot. Coreboot is an open-source BIOS built around the speed of booting, and reduced software bloat, and as compared to transitional BIOS it does measured booting with a TPM for enhanced system security. You can learn more about Coreboot, here
All Protectli vaults have the option of a TPM chip and the TPM works with VMware to allow for VBS of VMs as well as enabling BitLocker inside of Window-based VMs.
What else can this vault do?
Wrapping it up, what else can these Protectli vaults do?
All of the Protectli units have the ability to handle an LTE module if you want to use it as a firewall with LTE redundancy or as a backup WAN.
They can also be equipped with a wireless module and have a series of Wi-Fi antennas.
Automation platforms such as Home Assistance, OpenHAB, etc all run extremely well.
As mentioned previously they can function as syslog collectors, SIEM appliances, or as a high-end desktop.
Since the vaults are built using passive cooling fins they also have industrial applications where you can deploy it in a harsh environment and it will keep on trucking along.
Conclusion: Let’s wrap this up
So this is the end, I’m kind of sad. 🙁
This project to see if I could find a low-operating cost solution to fuel my love of VMware was rewarding. I’ve learned that sometimes sticking with a hobby like VMware can be fun once you find out you don’t need to spend a lot on electricity.
It’s my hope that this article sheds some light on Protectli’s VP4670 as a viable VMware solution for home labs and for those who want to learn about VMware consider this solution. Who knows maybe these vaults can serve you with other hobbies or security-based requirements without spending a fortune all while keeping your electricity costs low. In the end, that is what fueled me to start this journey.
If you are interested in learning more, feel free to message me on LinkedIn and I’d be happy to help.
On that note, I bid you farewell,
~Cheers!
-Trevor